Tag: Blender

  • My Birch Winter Forest – A Contemplation Build

    My Birch Winter Forest – A Contemplation Build

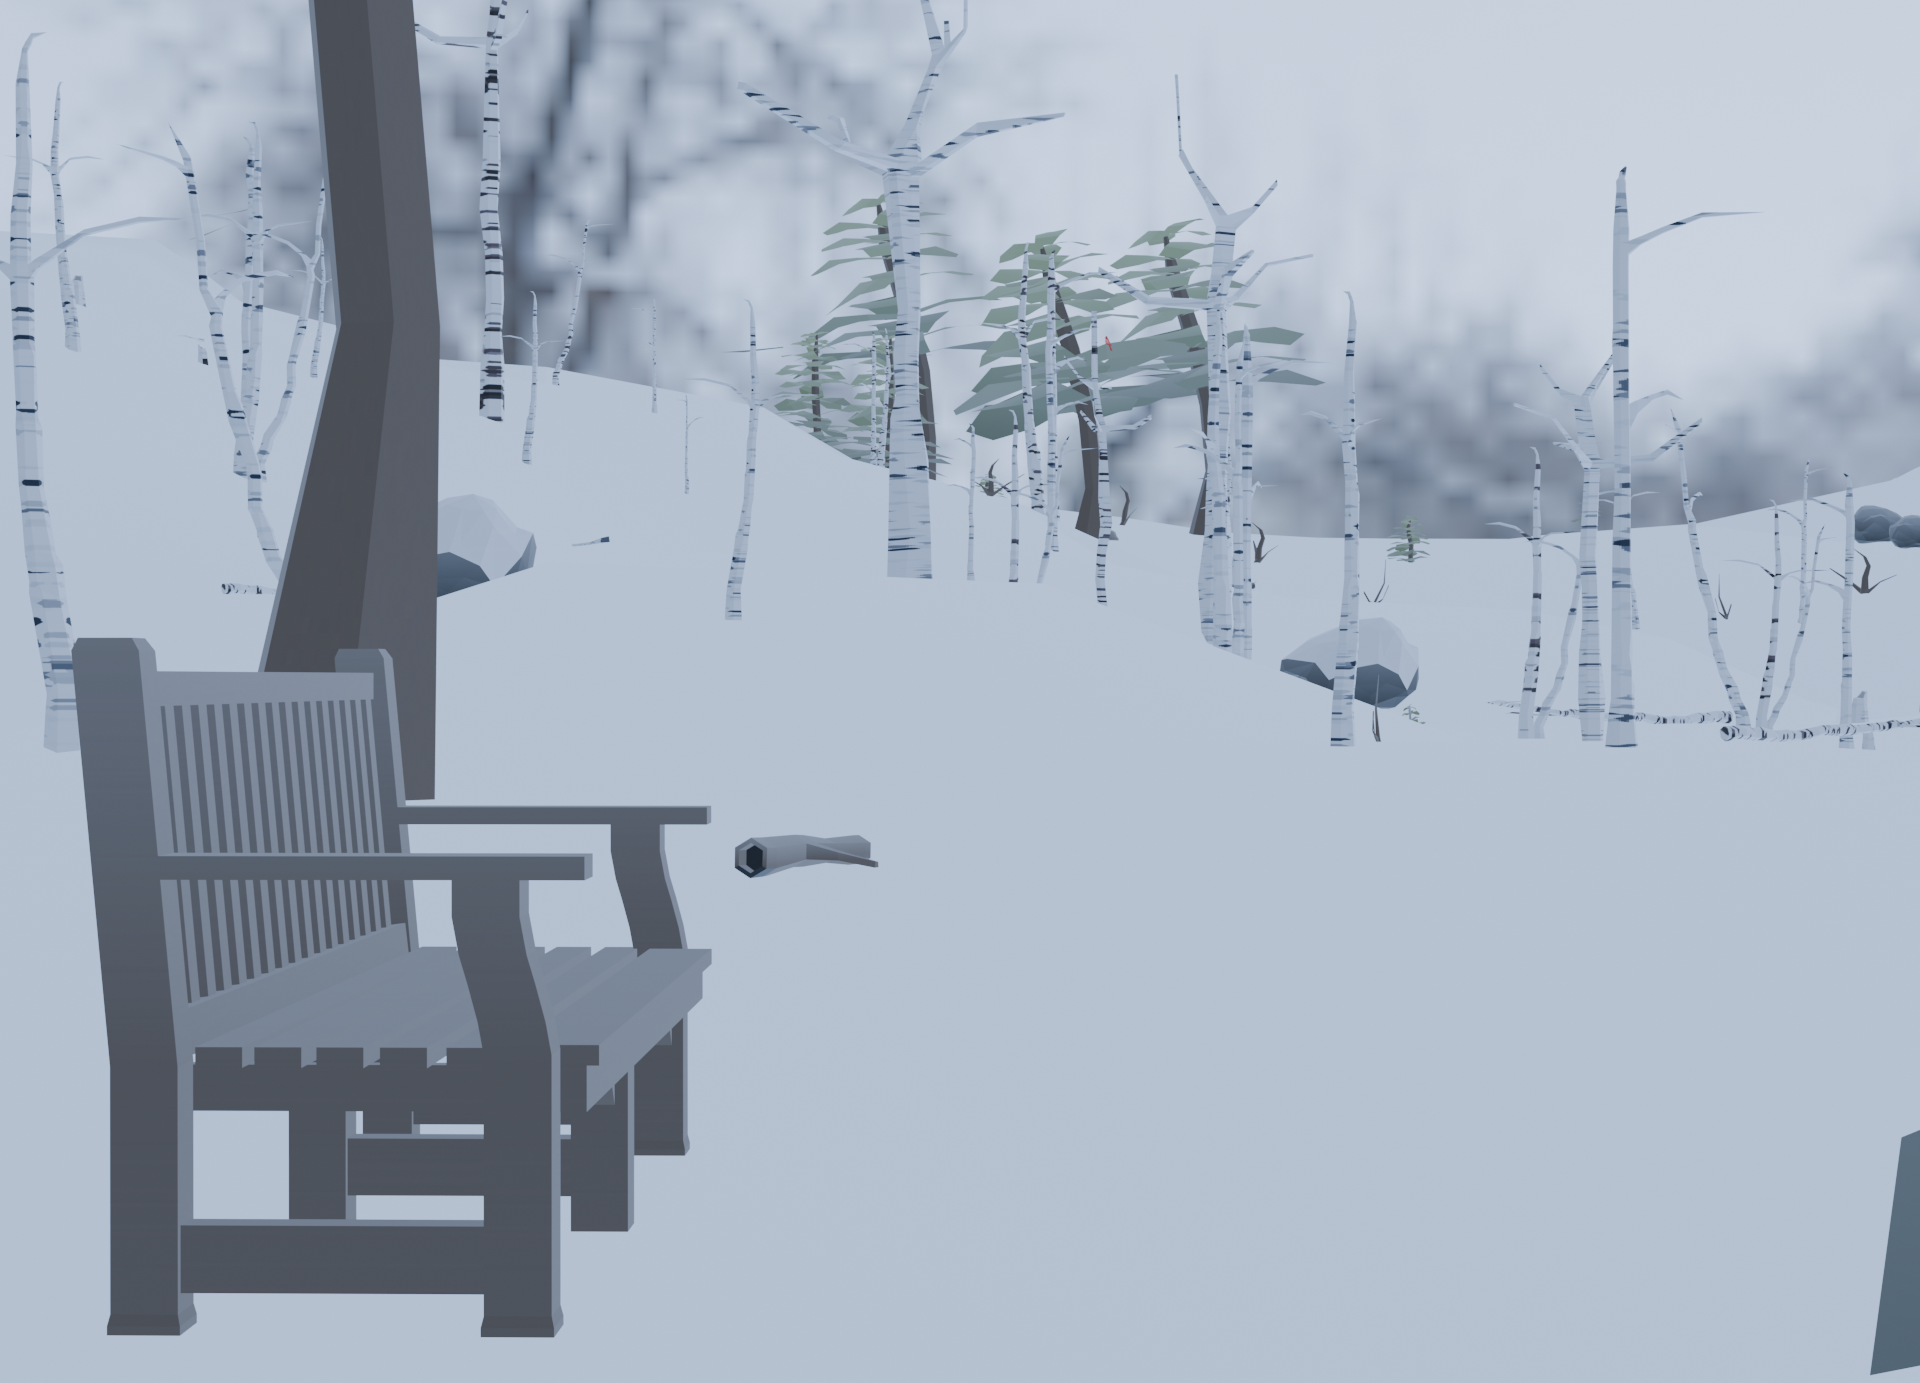
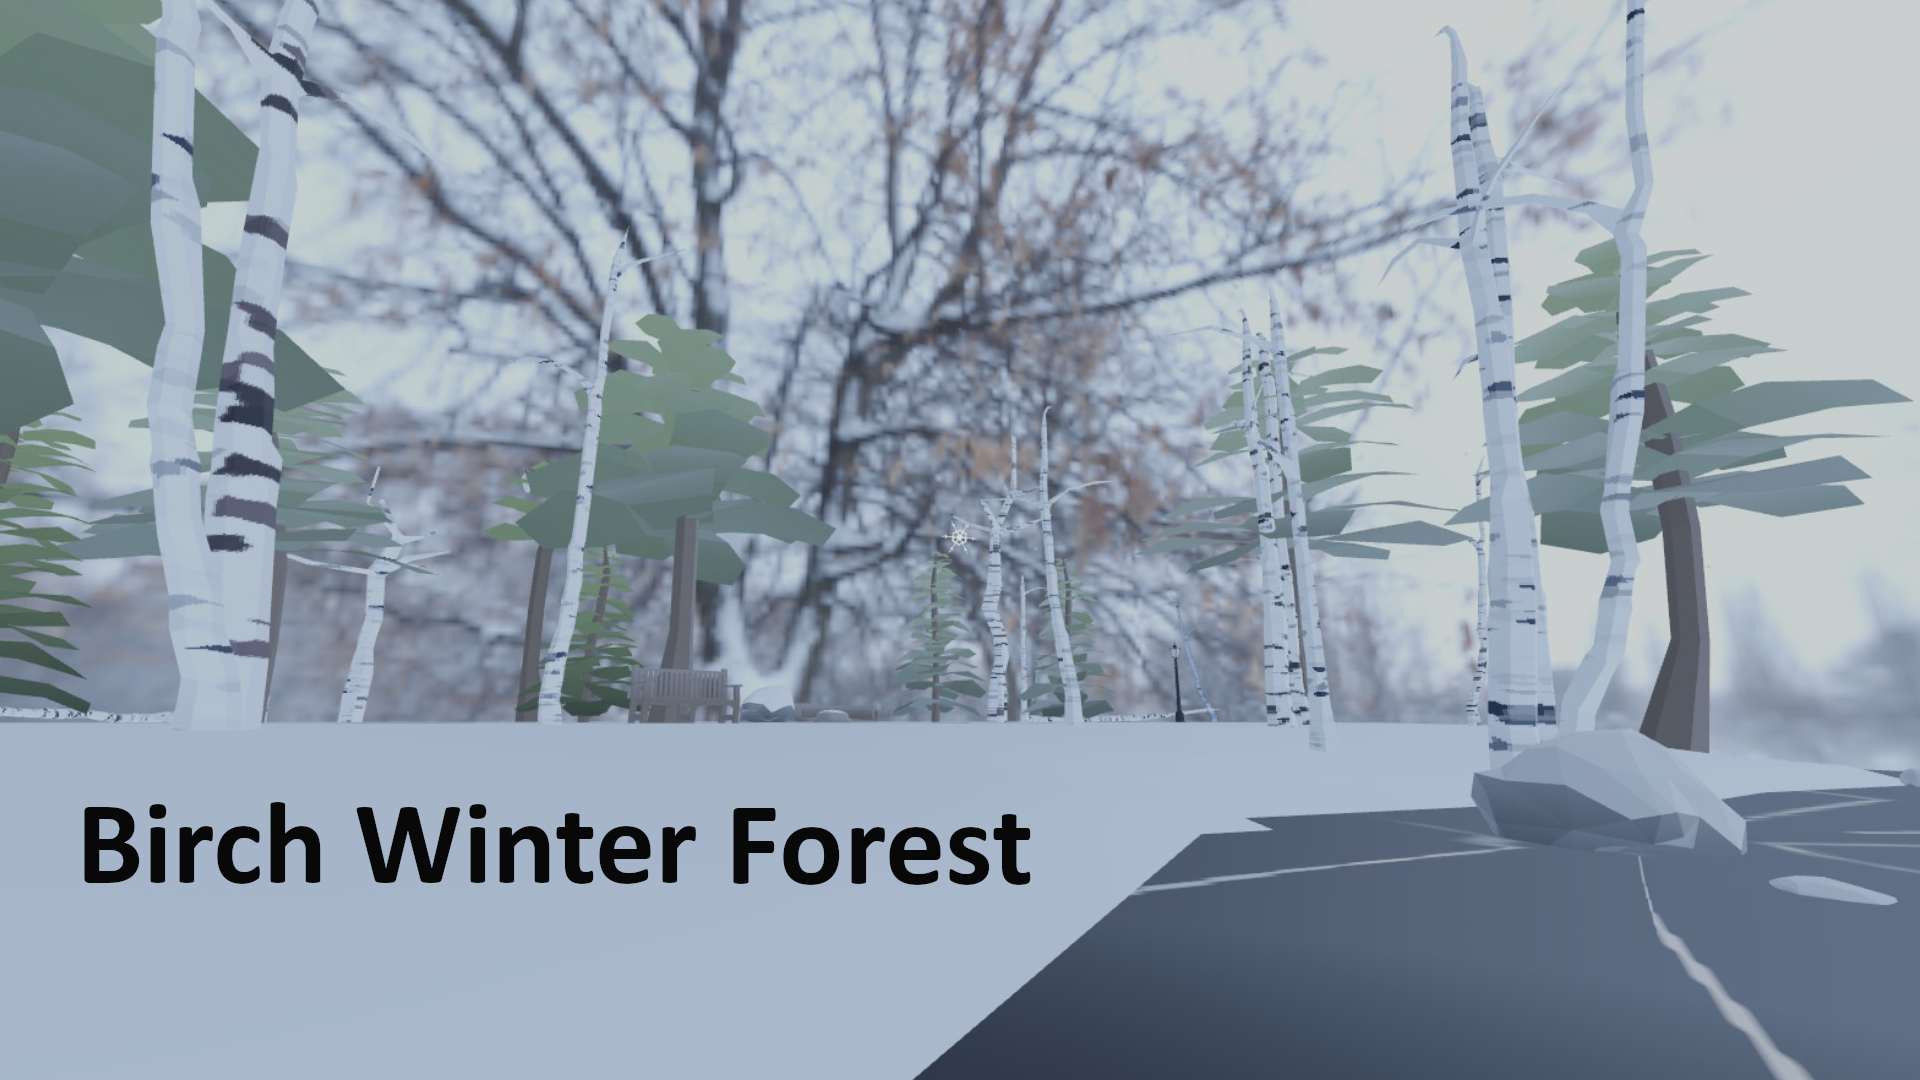
    Decorative image of a low poly winter scene of birch and pine trees in a village park

    I’ve had times in my life when I’ve been one of those Holiday-of-the-Month-style teachers. 😀📅 January is, in my determination, the month of contemplation and of quietness. Nature forces you to slow down and sit. Perhaps take the time to write a haiku.

    So coming through December into January, I knew this next build with Blender, hosted in Hubs, would be themed as a quiet space in a winter forest. It would be a nice place to sit and think, a place to visit regardless of the actual weather.

    Inspiration

    For years, I’ve had an image like this tucked into my mind: chickadees and birch trees. Tonal and cool; black, white, and gray. Chickadees stay around here all winter. They pop and hop around on the coldest day and are early to emerge after the biggest snowstorm. They just make me happy like daisies do for Kathleen Kelly . 😀 
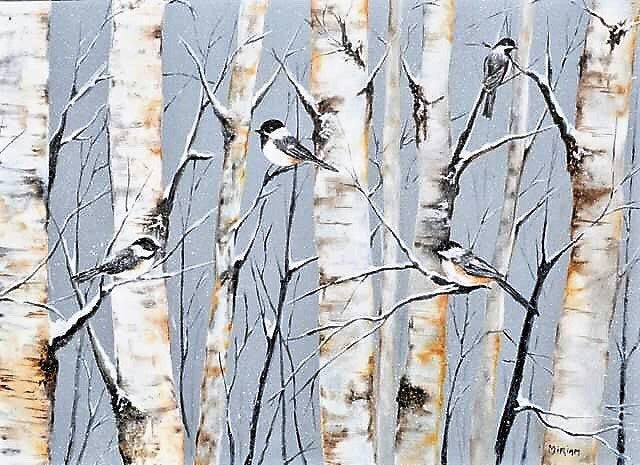
    Decorative image of upclose birch trees with chickadees on the branches. Tones are grays.
    Chickadees and birch trees

    Unlike the earlier months of winter when brown dominates the landscape, by January, we are usually blanketed in snow. The winter solstice has turned the tide of darkness back and at least during daylight hours, everything is in white/gray light.

    Since I knew I wanted birch trees, I did a little gathering of birch tree photos that I would use (disregarding the AI images). 

    Collage of images birch forests and a great horned owl
    More inspiration images


    Color Palette

     This inspiration photo is where I pulled almost all of my colors from.  

    Inspiration image of a snow covered birch fores with small pine trees and a path


    From this photo, I pulled out the browns, greens, and whites. I also
    made small pines and stick-like baby trees. I also thought about making
    the ground a little lumpy.


    In this build one of my first new revelations was that all of the colors would look like they go together if I pull them from one source. 

    Said another way, if something looked good in a photo (tonal and pleasing to the eye) then the same color combinations might go together well in VR.

    Of course, lighting is a different problem altogether. In this photo, it was sunny and wasn’t sure yet what my sky would be. I ended up making a blue to white sky gradient that I never used!

    UV Texture Atlas

    Even though I have thought about and attempted a texture atlas before, I have never successfully made and used one for a full build. I was never trained until I watched this video, How to Colorize Low Poly Fast for Games in Blender 4.3 (49:16) YouTube tutorial by Imphenzia.  I like how he prompted to work with the X and Y scale on the UV texture. I did that a LOT and ended up with cool birch trees.

    Because I’m proud of it, here is the final atlas, made entirely in Blender 5.0 (most of the scene was built with Blender 4.0.2)
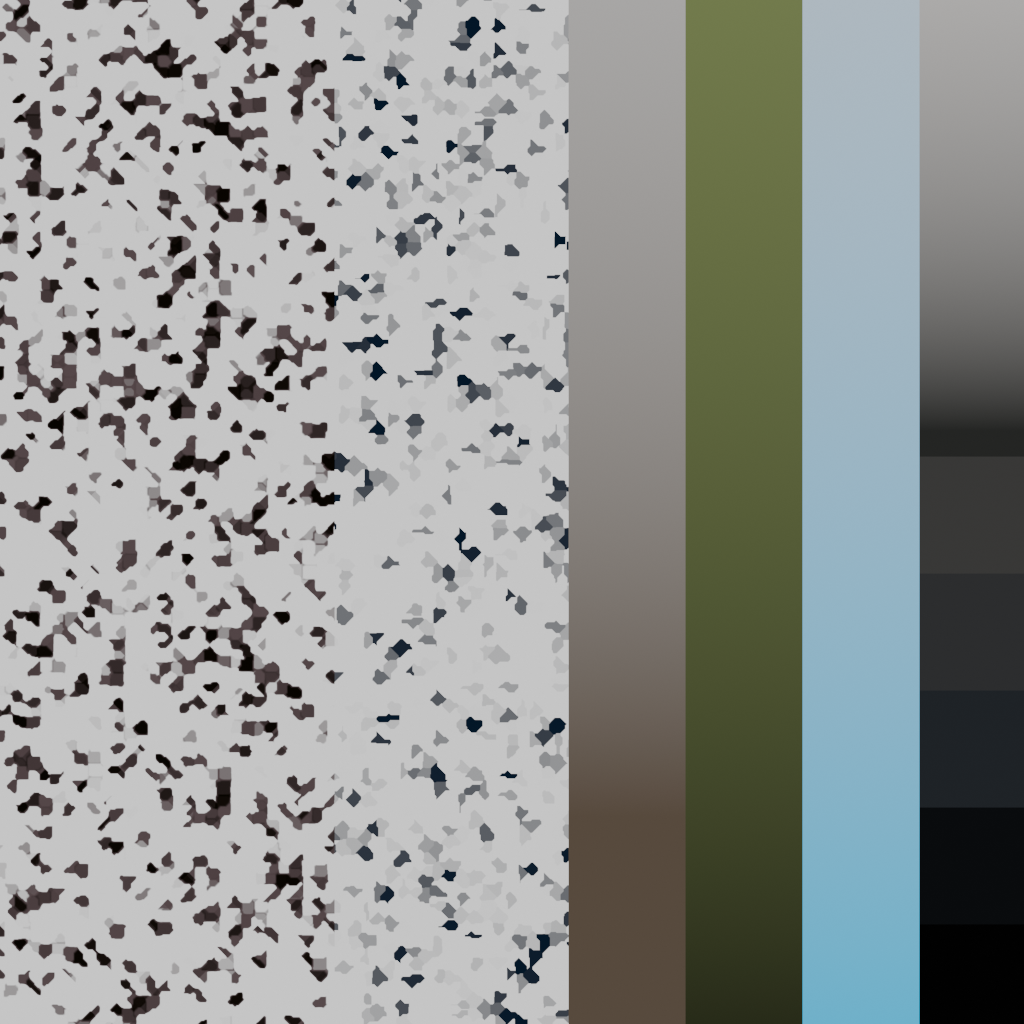
    Texture atlas square of shades of black, white, brown, and blue.
    All of these colors came from the photo directly above.


    I’ve learned how to make those voronoi textures on the left side, one is shades of black, brown, and white, and the other is just shades of black and white.

    Capture of Blender, Shading tab, how to create my voronoi texture
    Work in progress, showing the shading tab for the black, brown and white voronoi texture

    Distribute Objects on a Plane…or not


    I wanted to return to Ryan King’s Distribute Objects on a Plane (16:07) YouTube tutorial and I did create my winter birch forest scene twice using geometry nodes. 

    I had a scene in mind of a birch tree-filled mountain valley with a little stream. 

    I started with something that was probably 400 meters square and then was filling that space densely with trees. 

    Capture from Blender of early distribute objects on plane results with birch trees and rocks


    Work in progress. Birch trees and rocks using geometry nodes. This is taken from inside Blender and I’ve not yet applied the modifier.


    Capture from Blender of a park bench on a hillside with trees.
    More work in progress. Bench, hills, and slightly less trees.


    Capture from Hubs scene with ghostly dark trees and rocks
    First attempt in Hubs. No lighting yet and geometry nodes modifier is not applied. D’oh!


    I foolishly tried the Blender Real Snow extension just to see how my trees might look with some snow on the few branches- and my computer never stopped calculating. I had to force crash Blender. 😦🔨💻😖

    After “applying” the geometry node modifier, the truth came rushing at me. I was facing 200,000 triangles for what I thought was a good looking scene. I attempted some heartbreaking deletions to get down to ~85,000 triangles. All this time, I was hearing the advice “It’s always hard to do nature scenes because they are actually complex!”  Yup. I’d say ‘live and learn’ but I know I’ll keep attempting these nature scenes.

    It didn’t take long before I realized I had to give up this elaborate idea and do a much smaller scene. In addition to the MANY trees, the “lumpy” ground was costing too many polygons and I was designing a place to ‘go here and see this’ and then ‘go there and see that’ on a mountain side. 

    I realized I had missed my original design idea: a place to stop and contemplate.  


    I started over again with a ~40 meters square, no geometry nodes. I deliberately placed every tree.

    Re-use Assets I’ve Already Built

    I was really pleased with how well the birch trees turned out. I ended up making one new birch tree but re-used the birch trees from my Pumpkin Patch build of Halloween 2024.

    Capture from my Pumpkin Patch scene with birch trees to the middle right.
    The birch trees in my Pumpkin Patch build were re-used and re-textured in my Birch Winter Forest build.

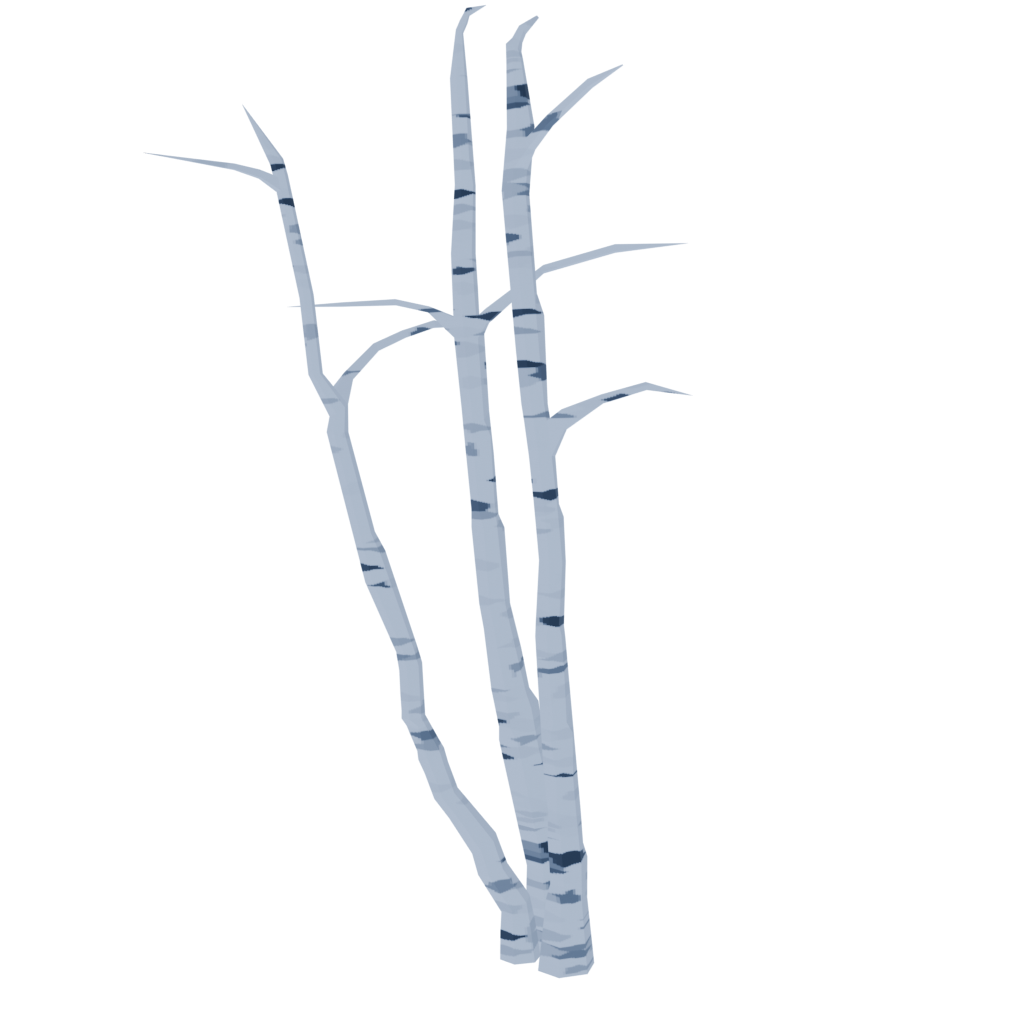
    Example birch trees transparent image
    To help save even more  polygons, I made transparent pngs of my birch trees in Blender and placed some of those ‘images as planes’ on the edge of the scene. Unless you flew around them, you would not know they were flat planes.

    Snowflakes are 6-sided

    I spent 1.5 days making snowflakes. I also tested them in Spoke but made some final tweaks once I tested the scene in Hubs. I thought of having more than one particle emitter in different parts of the scene, but again, decided to keep it simple with only one covering most of the whole scene.

    Collage of different 6-sided snowflake designs made in Blender

    Layered Sound

    For the first time, I didn’t just select a sound file and have it loop. I found a background, Forest Ouareau and a chickadee sound file that I liked and I layered them together. The result worked wonderfully!

    Animation

    The chickadee file had 5 chirping events, so I made a narrative of those sounds:

    1. Chickadee A is very friendly. It will spot you as a visitor and fly down to the bench.
    2. Chickadee A will fly to some (imaginary) seed on the ground and call out to Chickadee B.
    3. Chickadee B is more shy and will only respond from a nearby tree but will not fly down.
    4. Chickadee A will fly back to his original tree branch.

    The loop restarts after ~119 seconds.

    Chickadee A


    Chickadee B


    I also added an owl that opens her eyes halfway, but she’s too sleepy and drifts back into her daytime nap.

    Capture from Hubs Birch Winter Forest with an owl in a far away treetop
    Can you see her? Far back in the tallest pine

    Capture of Hubs scene. Owl close up with eyes halfway open
    She sees you!

    Feedback


    I received this feedback on the scene:

    • Snow on the ground needs to be a little whiter
    • Snowflakes need to be a lot whiter
    • Change alpha settings on stream water to see if transparency will work
    • Combine objects using the same material, not just the same object mesh
    • Add back in some fog


    I made those improvements.

    This scene is open for visiting upon request. See my About Me page.
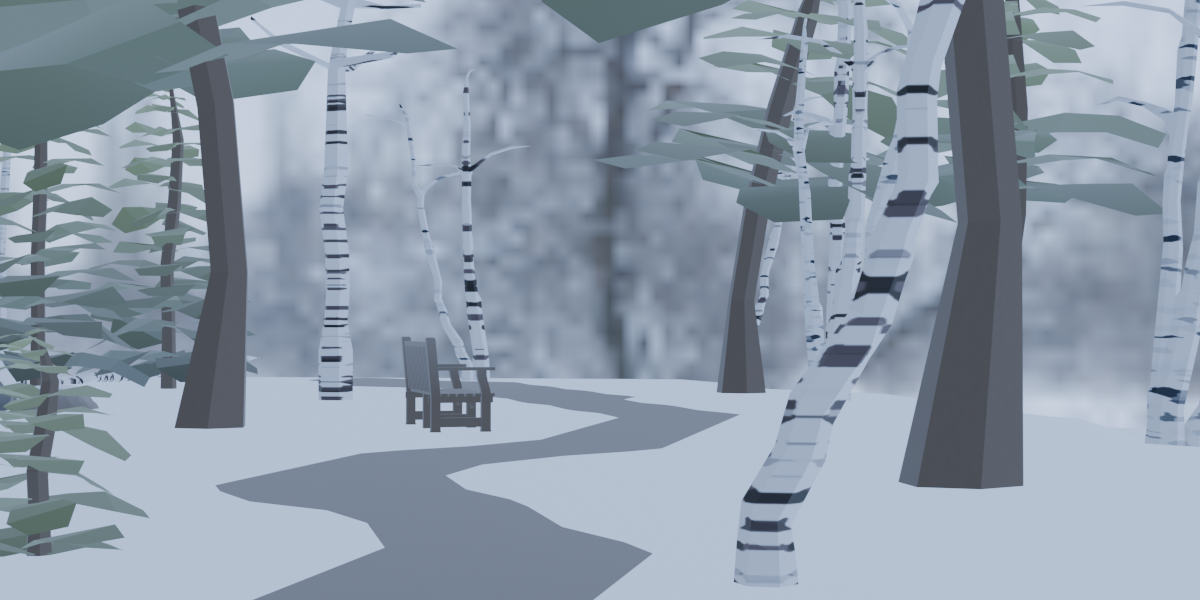
    Capture of Hubs Birch Winter Forest scene. A path winds through a snowy area with birch and pine trees. A bench welcomes visitors.


  • My Tron Build Part 3: The Live Event

    My Tron Build Part 3: The Live Event


    Decorative image: A duck in sunglasses with vampire teeth. Text: Hubs for Halloween, Friday October 31 at 2:30 pm EDT
    Made in Blender and Canva!

    The Live Event

    I
    launched this build to celebrate Halloween. Not because it is in any
    way scary, but because it is dark. 

    Hey, that’s as far as I go with
    Halloween. 😑

    But I did add a twist for my planned live tour of 3 scenes.  The story line for the experience would have a beginning, middle, and end. It was not just about visiting and looking around.

    Scene  1: Start in Flynn’s Hideout. A wall is hiding the full city. I will
    play the music because without Behavior Graphs at this time, I did not
    know how to otherwise time the wall to descend at the same time as the
    “Tron” aspect of the song arrives. I invited folks to look at the
    fireplace for something to do.

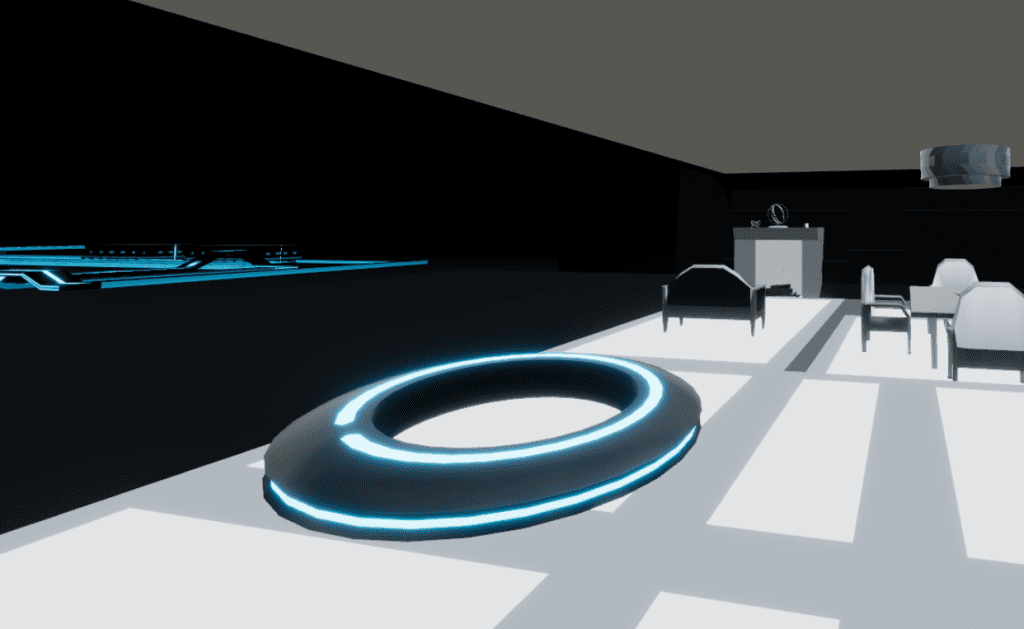
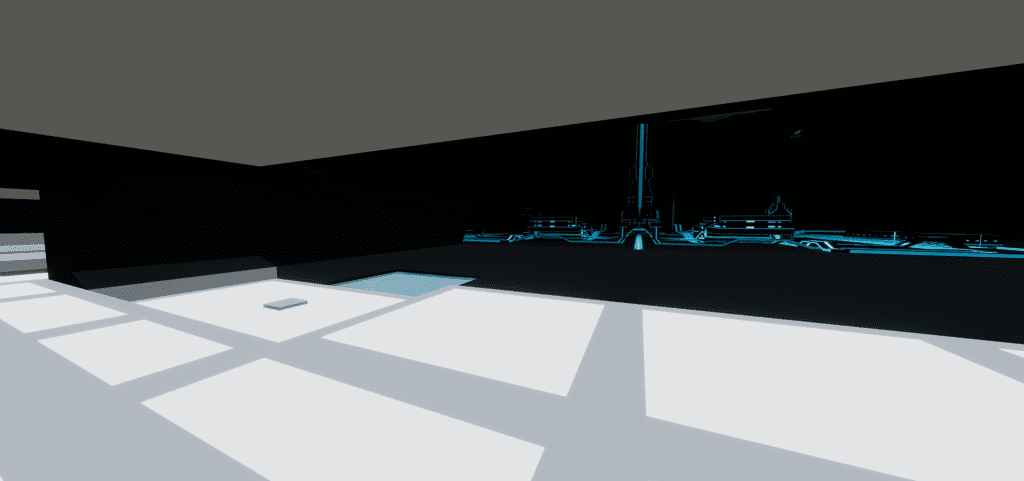
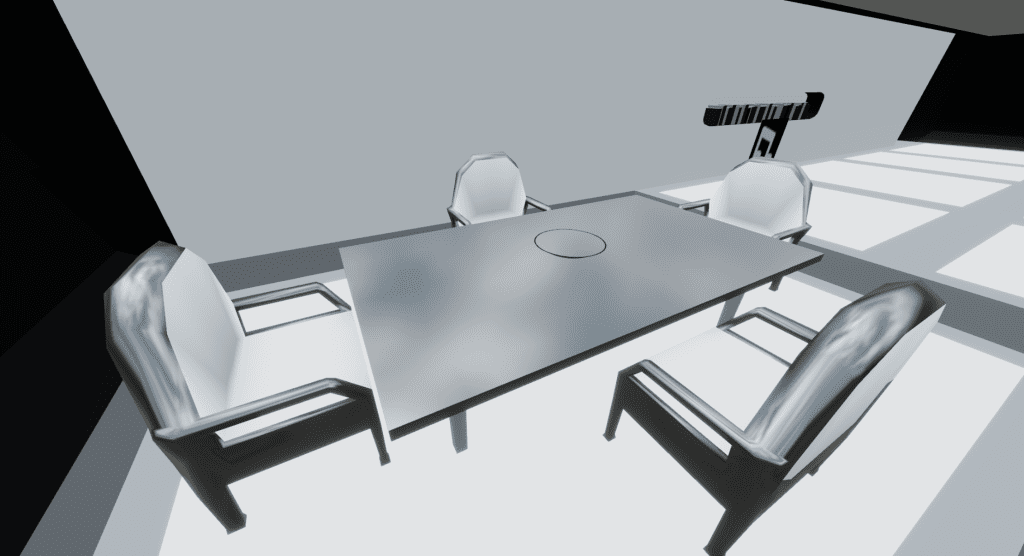
    Capture from spawn point into Flynn's Hideout. A glowing white room has a fireplace, table and chairs, and a view (that is an image) of Tron City.
    Tron arrival view. Notice the “Tron City” is an image on the wall.

    Scene 2: Explore Tron city (The
    Grid).  It’s really fun to turn your movement speed up to 2.0 and zoom
    down the main entry road.  I did it nearly every time I visited the
    build while working on it.

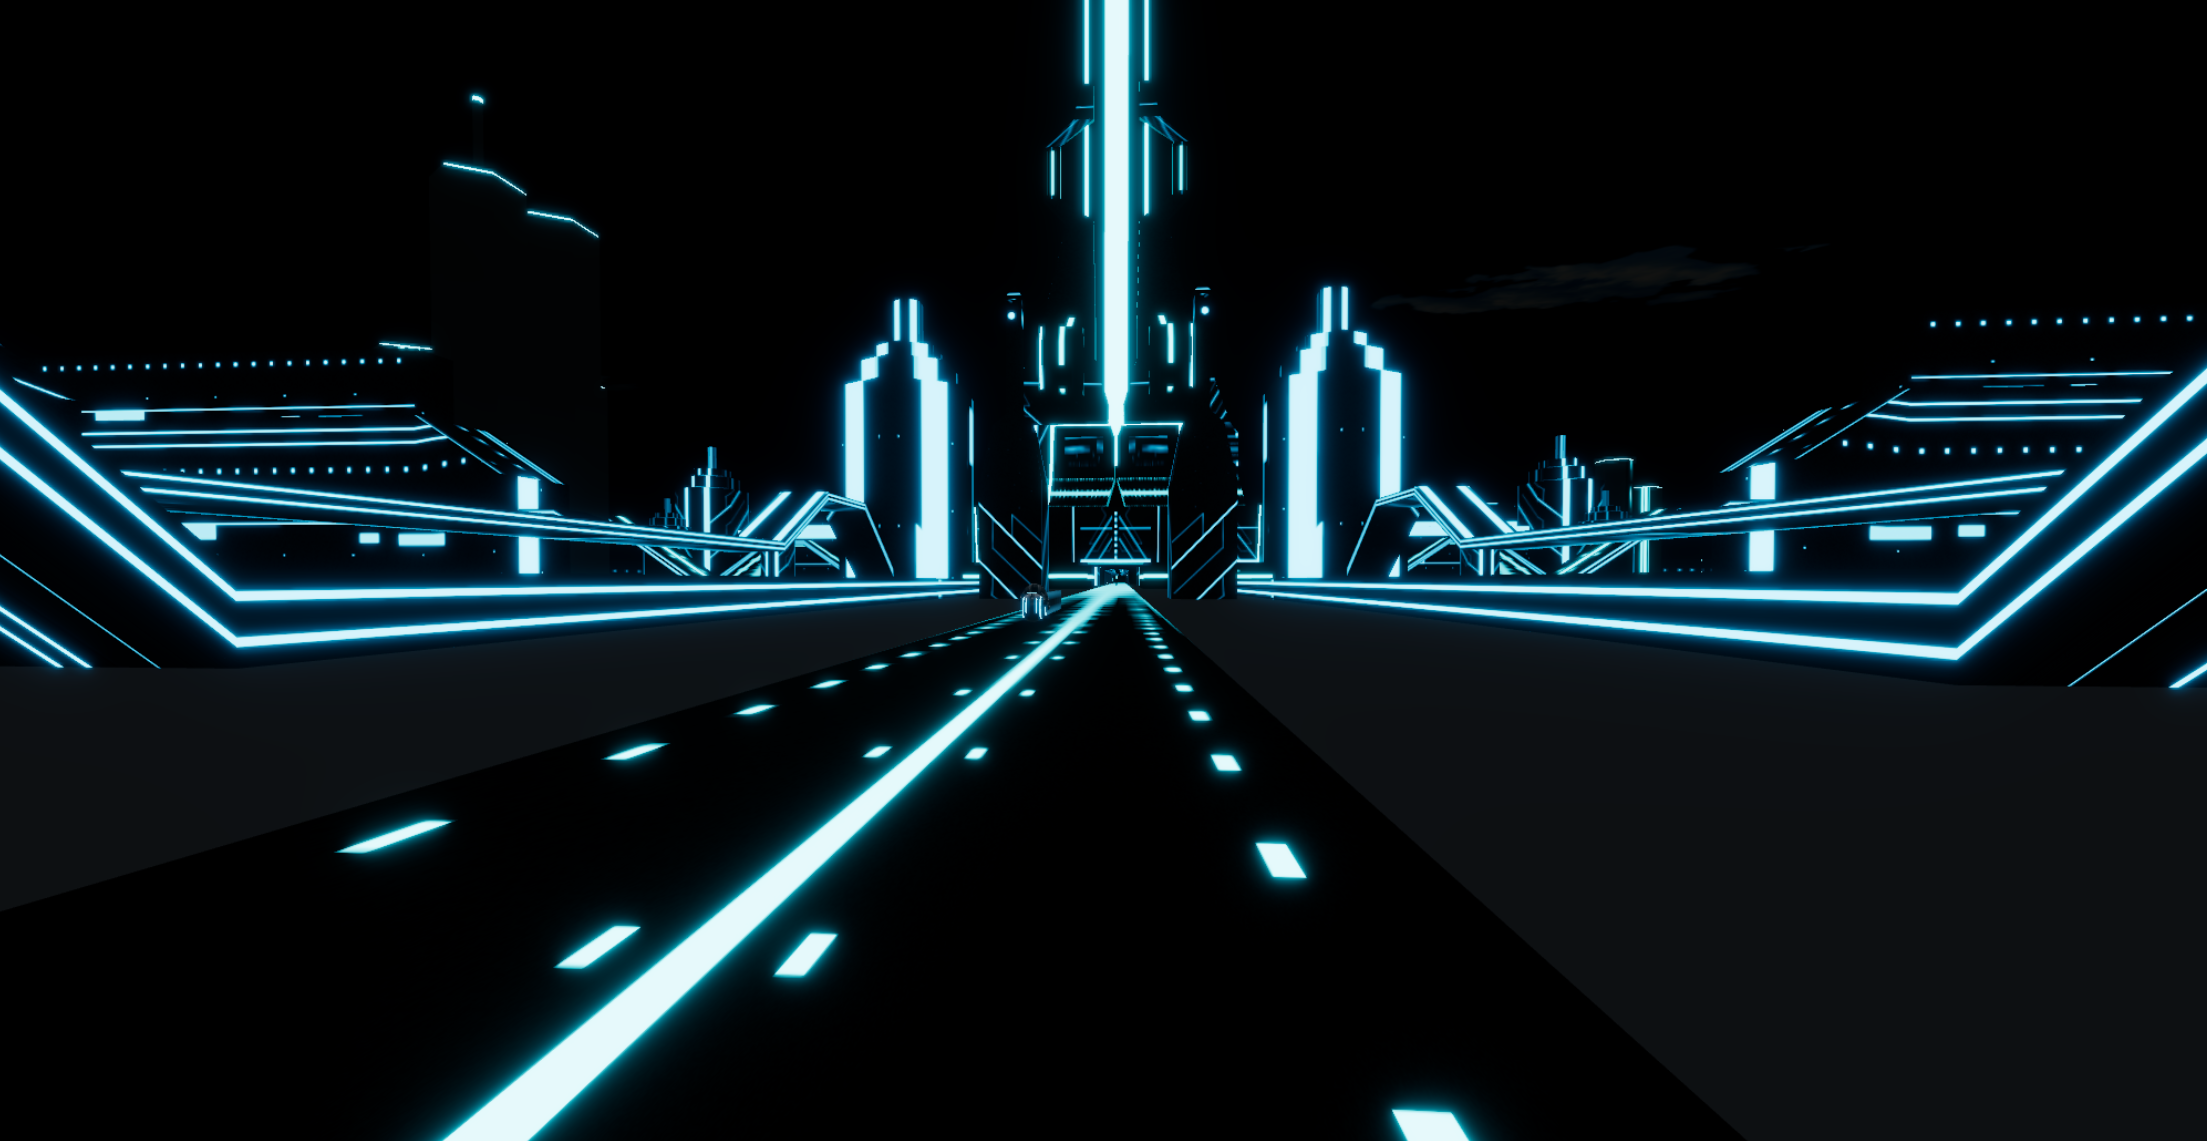
    Capture from Tron City in Hubs. A light cycle zooms down a city road.

    Scene 3 (an actual other whole Hubs scene):  I switched scenes once everyone was comfortable.  

    The center building was replaced with a “5th Element” style duck (IYKYK),
    everything now purple monotone for Halloween, and eliminated Flynn’s Hideout. The sky
    changed from black to a purple/orange gradient. Inadvertently, the navigation mesh which I only flirted with in Blender, worked.

    Collage of ideas of making a purple Tron City just for Halloween. Duck elements are seen as those are associated with the Hubs WebXR platform.

    The Bummer

    Unfortunately,
    no one who showed up for the Halloween event knew the Tron movies.  So
    all of my work adding in references and allusions was for naught at the time.
    😔 Hopefully I’ll be able to show this build live to a real Tron fan someday!

    The Video 

    Because
    I knew I was launching this space on October 31 at ~3:00 p.m., I
    prepared all of my social media in advance of the event to be able to submit it to the show-and-tell Hubs Discord channel for October.

    Other inspirations

    I would like to point out some other inspirations that I used because this build took me about 8 weeks. 

    I heavily listened to this music mix, Tron – Psybient, Progressive Psychill, Cyber Sci-Fi Ambient Music Mix and Quantum Polarity by MyNoise.net

    The Tron font generator was brilliant! Another happy accident was getting the purple neon Hubs in Tron font work well in the Hubs space.

    Capture from Tron City Purple in Hubs of a neon-like sign with text Hubs in Tron font.
    Combination neon from the Tron font generator with Hubs bloom.

    I did not know that Disney was releasing Tron: Ares
    but I did notice that Tron red clips started showing up in my YouTube
    searches. Tron: Ares released on October 10, 2025 and did very
    poorly.  My build released on October 31, 2025 and was completely unrelated!!  Cringe!

    I did attempt some UV scrolling but in the end, I didn’t like the effect inside of the build; it was too flashy against all the black. The neon bloom was already enough.

    Early
    on, I collected a few Sleeping Beauty images because I’ve been
    intrigued by the angular branches on the trees in the background.  These
    didn’t show up in the build but I’m keeping those ideas for the future.

    I did not make a Recombinant. Thought about it, because it is very basic geometry (it makes the Solar Sailer look very complex).  But decided not because in the Tron lore, it is sorta a bad guy.

    Easter egg hidden: I made a back door and garage where the Light Cycle starts it’s straight line run across the city. The door does not open until the wall opens, but I figured that I could direct everyone to look towards the city and NOT see the door opening behind them at the same time. That way, that Easter egg would stay mostly hidden until I pointed it out.

    Collage of varied inspiration images for my Tron build. Different computer cities, furniture and one non-matching image from Disney's Sleeping Beauty.

    Lessons Learned

    • Keep Blender source files for everything.
    • Keep a Project folder in my browser for images, fonts, music, anything. 
    • Plan the experience – I liked my 3 scene narrative plot.
    • Make the social media early. It is stressful but it did work.
    • Write a blog post, perhaps, as I go along. 😏

    I hope you did not miss Part 1, Lore, Textures, and Basic Shapes and Part 2 Light Cycle, Solar Sailer, and Avatars of this TRON series. 

    Would you like to visit this TRON scene?  You have to ask me for the link (and I’ve not made my contact info easy to find…yet).  Stay tuned.


  • My Tron Build Part 2

    My Tron Build Part 2

    Light Cycle, Solar Sailer, and Avatars

    Tron Light Cycle

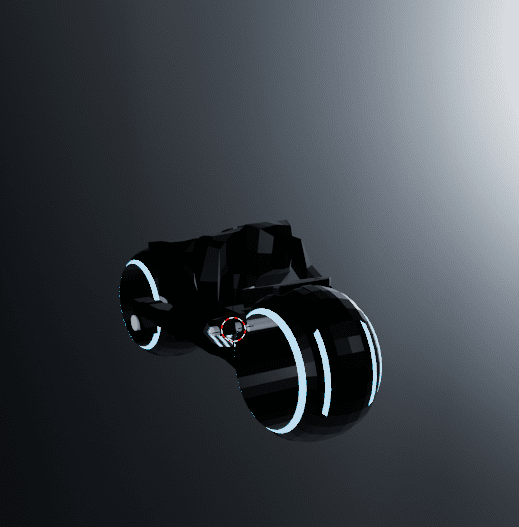
    There are MANY fan art pieces for the Tron Light Cycle (Sketchfab Tron Light Cycle search results, ArtStation search results) showing many styles, emphasizing different elements. I did giggle at a model out there that used a human with bare feet. There is even a significant difference between the Light Cycles shown at Comic Con (green and blue) and in the Tron 2 movie (orange and blue). I picked the features that I wanted to for my 3D Light Cycle object which I made in blue and purple.

    The Light Cycle was a two day build and I completely restarted it once. Relatively, this was a fast build but I had a lot of fun making it. It’s too bad that it does whiz past in the actual scene, but I know it’s cool. 😎

    Collage of Tron Light Cycle images gathered from the internet. Elements highlighted are where the handlebars and footrests are, the engine, and the overall top view shape.
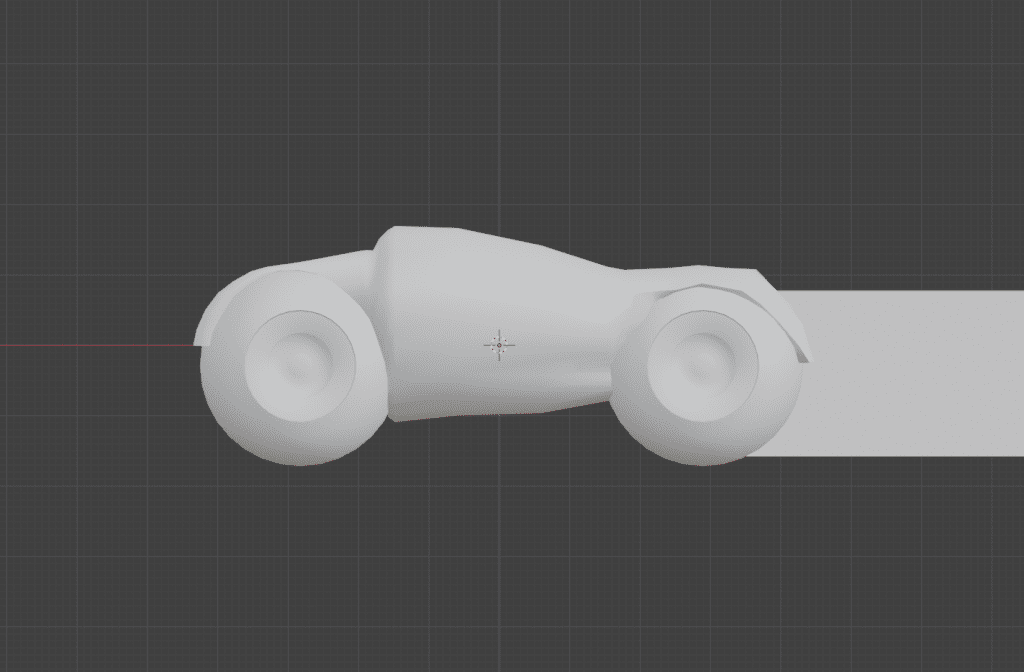
    Light cycle version 1

    In my first attempt, I started with the wheels which turned out pretty good. But I was primed by this video of a Light Cycle remake. But I didn’t like that core which was a mesh cylinder.

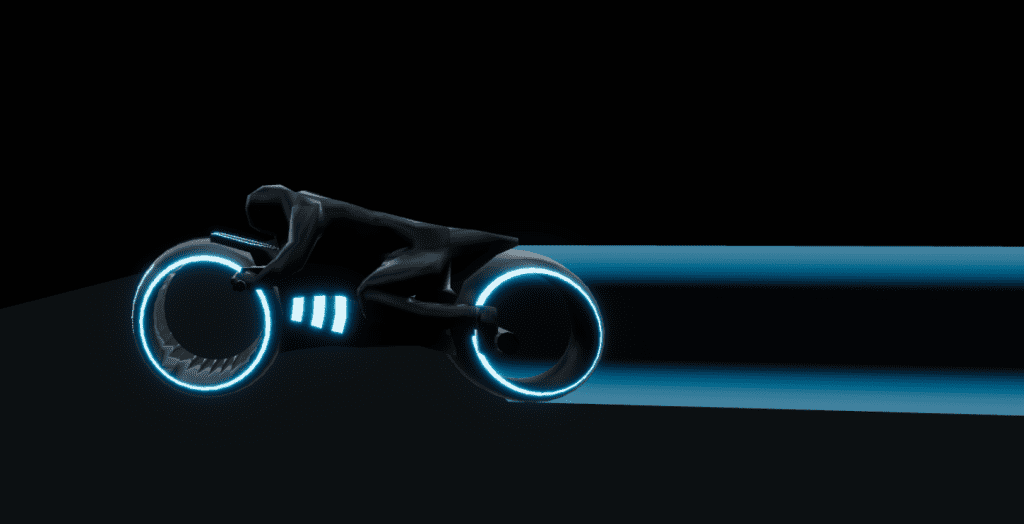
    In my second attempt, I just used a mesh cube because that was easier to use loop cuts to get faces that I could pull the arms, legs, and head from. I did add in a mesh cylinder, however, for the light “engine”. I knew that it needed an added glowing tail, but I made the texture for the Solar Sailer and reused it for what Tron lore calls the Light Cycle Ghost Tail.

    Light cycle, version 2
    Capture from Tron City in Hubs. The driver leans forward and the motorcycle has a blue glowing tail.
    Light Cycle, with glowing transparent tail (made in GIMP).

    Similar but different

    POST SCRIPT: This section added

    I realized after I pressed Publish (the world’s greatest proofreader) that I had not fully explained what I meant by this build utilizing negative space. Also, I need to properly give credit for the light cycle animation, which goes to Hubs community member, Theanine. I did look at his Synthcity Blender file to find out how he animated his spaceships.  I was wondering: did he use a generator of some kind or did he use animation. The answer was animation.

    However, while I was there looking at his blend file, I realize that there was a some common “look” from his Synthcity build and my Tron build– both used glowing colors. However, I used a negative space idea and depended on my textures to carry the work and he actually HAS the heavy work in his build.

    Here is an example. In Synthcity, windows are added planes that have their own glowing material shading. In Tron, any windows are created as a result of rectangular shapes in the texture. So I didn’t build windows into my buildings.  I left my buildings (all of them) as plain shapes.  But when I applied the texture, I saw how Blender applied the 2D texture to a 3D shape and with little editing, I went with the results. The straight lines and dashes on the textures became apparent as windows and road paint.  So I didn’t bother with the details that Theanine had, but I got a very similar result!  Synthcity is going for a video game city look and Tron is going for a city as circuit board look.  But Theanine was gracious to comment favorably on my Tron build and that should make all artists happy.

    Collage of images comparing how Synthcity used added planes for windows and Tron just let the texture create the appearance of windows.

    Tron Solar Sailer

    Collage of images for the Tron Solar Sailer ship. Hexagonal shapes and the final ship, which has an organic bee or butterfly look.

    In the Tron 2 movie (TRON: Legacy), it is implied that Sam and Quorra fall in love on the Solar Sailer– which I find a bit rich. 😕 But the scene of them on the Solar Sailer sailing into Tron city is beautiful and I wanted to replicate that.

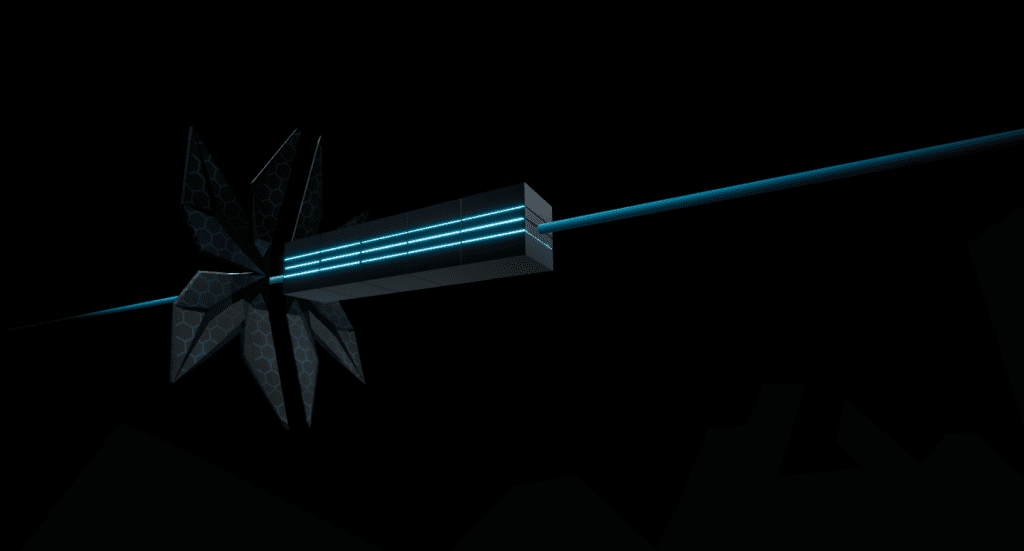
    I used Blender make the shape of the solar sailer (easy, one day). I made the sail texture in Blender as well, which turned into what I call a happy accident when I’m making my art. I made a cylinder, shaped as a six-sided hexagon, made glowing beveled edges, duplicated it, snuggled them up to each other to fill the camera view with a good scale. I did a bit of tweaking to try to make the texture seamless but alas, no one really notices it so far into the sky.  But when I went to render a 2D image out of this 3D object set, you guessed it – completely black. I had not put ANY light into the scene so Blender was like “Nope, you get completely black as a result.”  So I threw a “light” source haphazardly over the scene while saying something like “Give me SOMETHING lit” and Blender rendered the texture I show in the Inspiration image—it’s a lit just a bit of left-center.  And I realized— YES! That’s how I see my Solar Sailer moving through the scene! It will float through on the right side of the city so it will be “lit” from the left.

    What a cool, happy accident! I ran with that texture. It’s actually one of my proudest accomplishments because instead of a flat texture, I had a texture that meant something real inside the scene (and I simply changed the color for a purple equivalent Solar Sailer). 

    One Hubs note here: I thought about trying to put a waypoint on the Solar Sailer so that visitors could go up and sit on it (ride it?) just like the Inspiration image above.  But I did remember that Hubs doesn’t do moving objects to ride on. Later, I asked a Hubs expert about it and he said that a visitor could go to the waypoint (utilize it) but then they’ll stay on one place in space as the object the waypoint is attached to moves on.  Oh well, a future version of the software will accommodate moving waypoints, I’m sure.

    Capture from Tron City in Hubs, Solar Sailer bulk transport ship. Insect-like wings at the front pull several bulk containers along a glowing line of blue  light.
    My Tron Solar Sailer

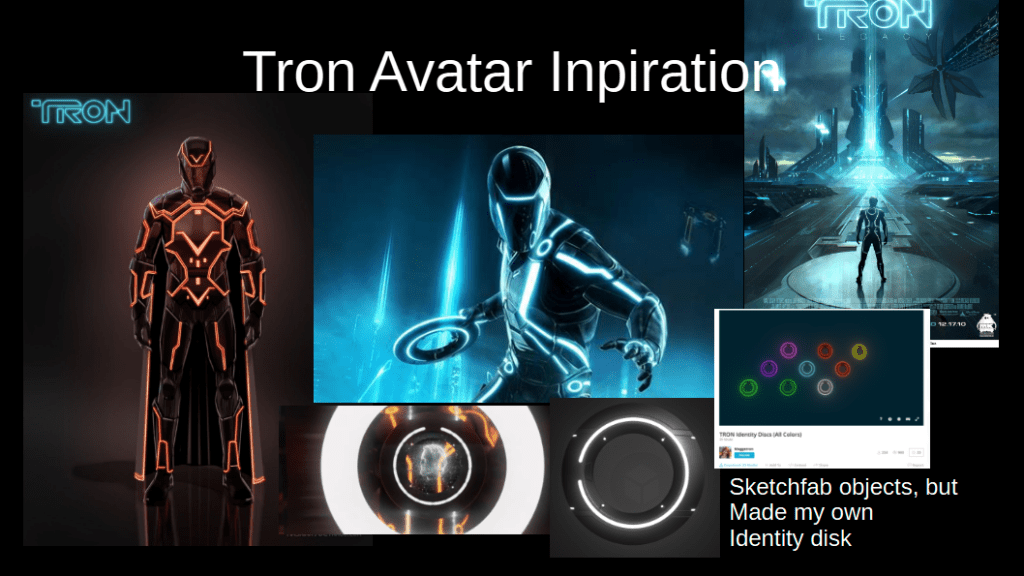
    Tron Avatar

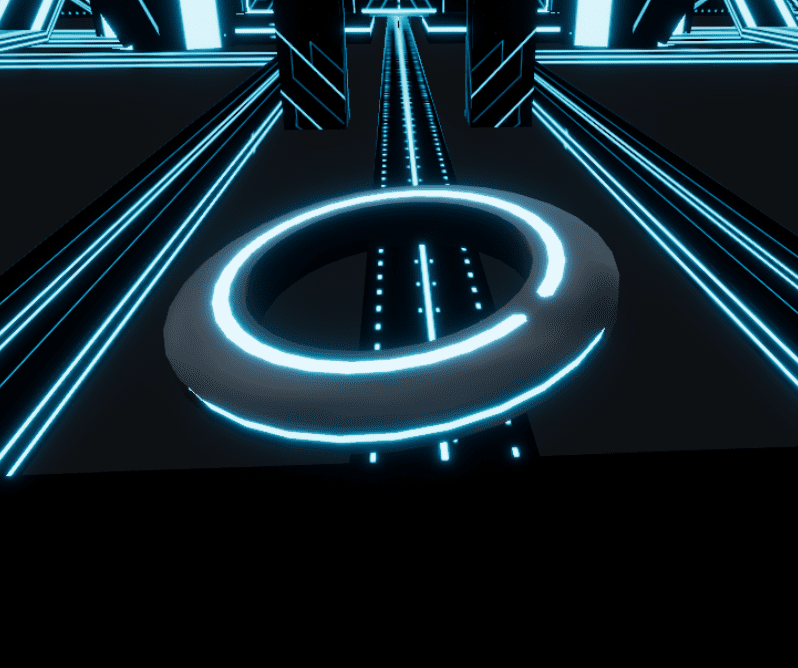
    No Tron avatar is complete without an identity disk so I attempted that first. 

    Collage of Tron identity disk images. Disk colors, shapes, details, and forms.
    Sketchfab models in wireframe mode are very helpful for building
    Capture from Tron City in Hubs, Identity disk as my 3D object. Frisbee-like disk with a glowing blue outline.
    Capture from Flynn's Hideout in Hubs, Identity disk as my 3D object. Frisbee-like disk with a glowing blue outline.
    My Identity Disk in blue

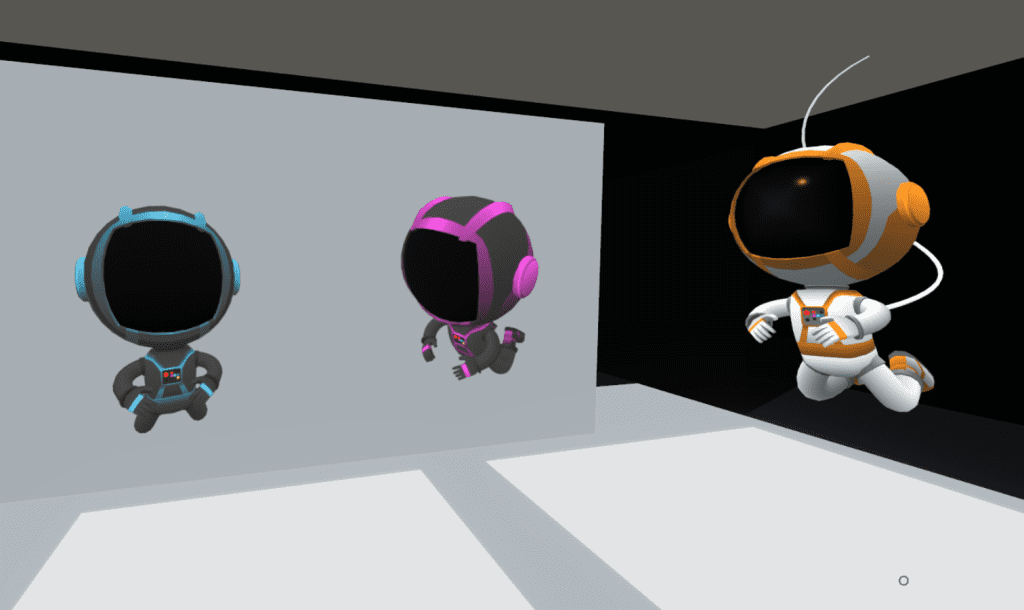
    I customized an already available orange and white “Spaceman” avatar from Hubs, created by Jim Conrad. 

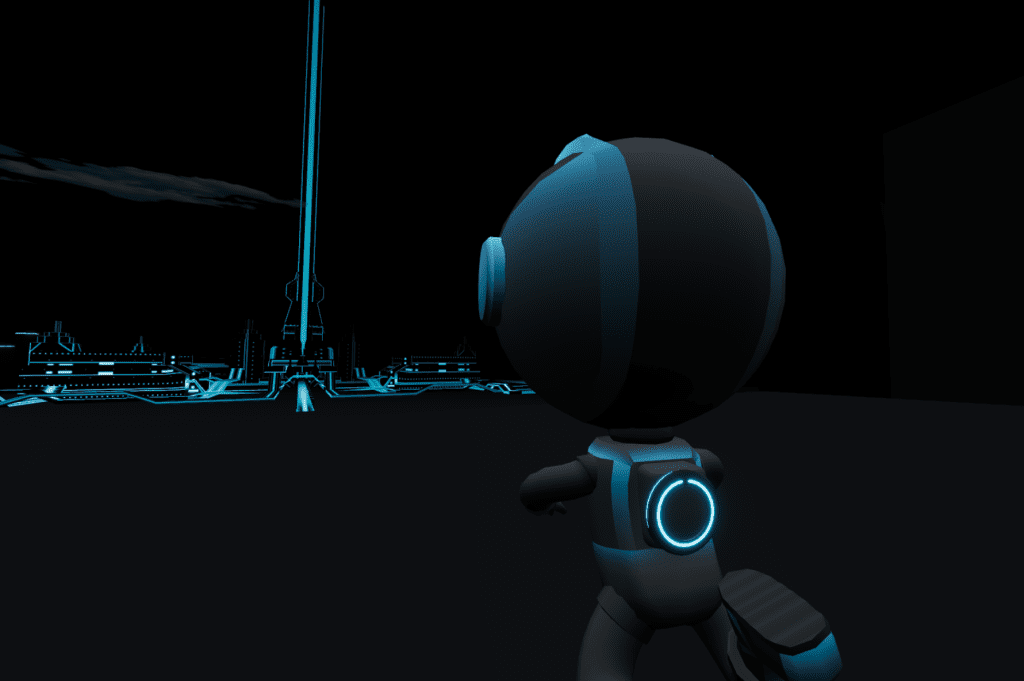
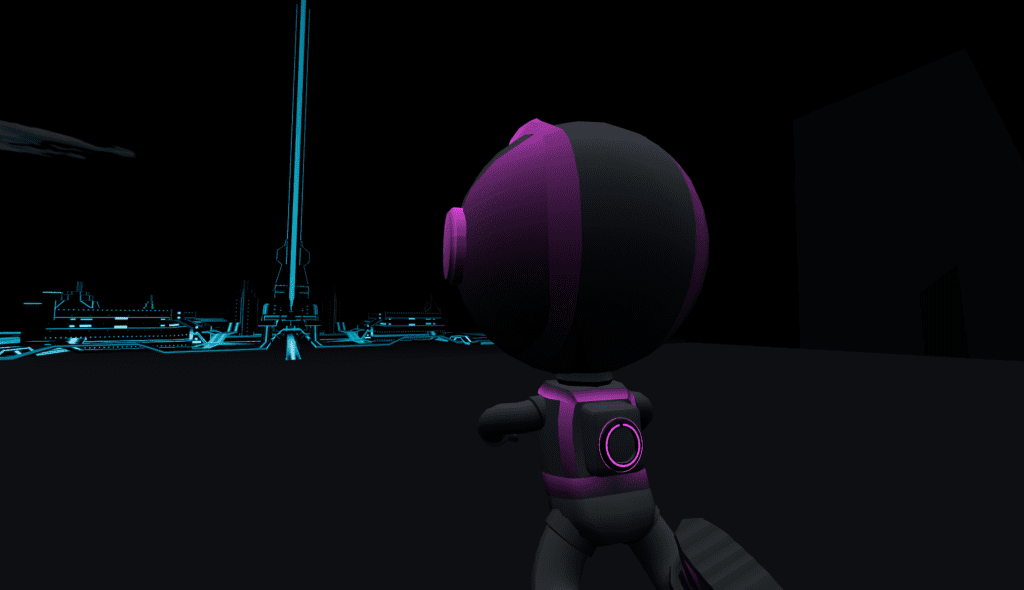
    Capture of the Spaceman avatar from Hubs with my Tron Blue and Tron Purple avatars

    I changed the base texture using GIMP and removed the air supply hose. I added a Tron Identity Disk on the back

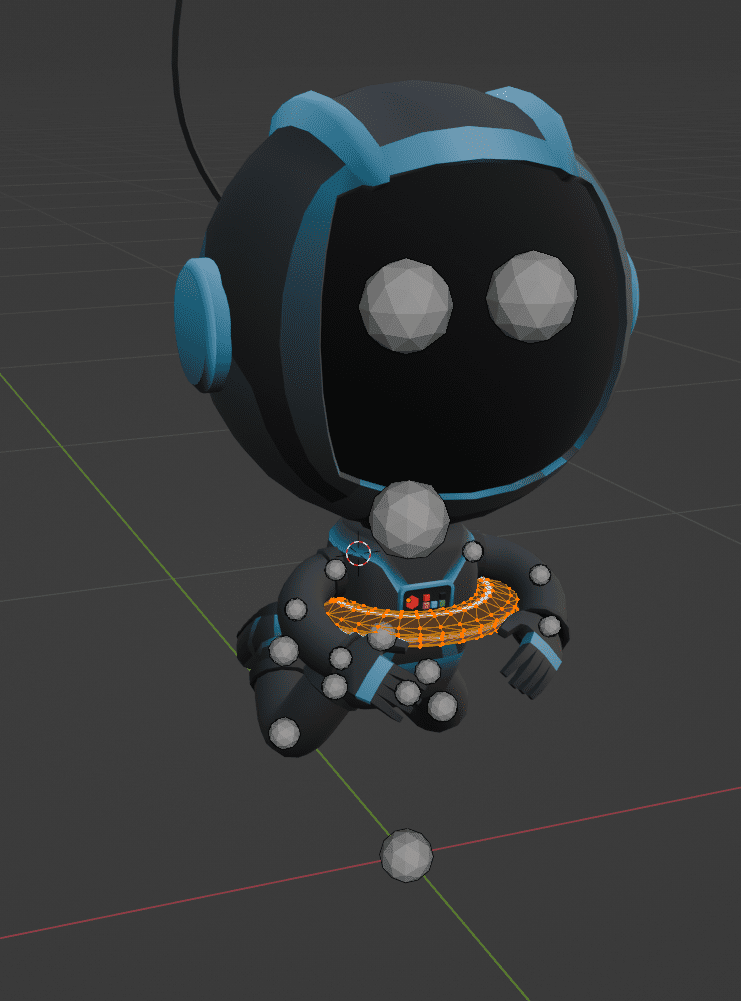
    Capture from Blender, Edit Mode of adding the identity disk to a Tron blue avatar.
    Work in progress: Adding my Identity Disk in Blender

    I made a blue avatar for all of my attendees by placing it up on my Hubs instance and taking all other avatars offline for guests via the Hubs Admin Panel. Then I made a purple avatar for me to wear as host (and it was a hint that a purple Grid was coming).

    In Part 3, I’ll cover the big reveal as this build was not even leaked to the public before the opening day, Halloween 2025.

  • My Tron Build Part 1

    Lore, Textures, and Basic Shapes


    Decorative image with text Request Access as key phrases from the TRON movie.

    As promised, I’m starting blog posts about my Hubs/Blender builds. This will be a bit like stepping into a running stream as I’m over 2 years into my learning journey.  I’m not that far in, still working primarily in modeling and I’ve done a little animation and I’m currently learning Grease Pencil (2D).  Plus, I hope that some of my writing will help others.

    What I do in Hubs and with Blender, for now, is pure art

    And that’s a good starting point for this blog because My Tron build, The Grid, was a really fun art study in negative space. In other words, this build had me work on what was not there just as much as what was there.

    Tron

    I don’t remember how me and YouTube started cross-pollinating on Tron. Truly, I’m not that into the movie (you will not believe that by the time this post is done because now, my Tron lore cup runneth over). It might have been this video, Sweet Dreams are Made of These, Epic Tron Version. I just find this song mesmerizing.

    At some point, probably when searching out YouTube Blender tutorials, I ran across this video, Make Tron City in Blender, Real Time Render.

    I watched this, it’s only 39 minutes and the creator is true to his word (mostly) that the build can be made in a short period of time. (There is little sped up footage.) That means a lot when evaluating a Blender tutorial. Many creators speed up time and give building ‘the hand wave’ approach.  However, a close watch will show that this creator, Daniel Grove, made the Tron city three times as there are two different showcased cities (the center building changes) and then the one he builds as his how-to in real time.

    Nonetheless, it looked very simple. I was intrigued to play with bloom.  Making my own textures with Blender was something I had just learned to do. I started.

    Textures

    This video and I think perhaps one by Grant Abbitt on using Grease Pencil Drawing in Blender got me going with using the Drawing tools in Blender and practicing something relatively easy, straight lines. I input a few circles but most of the textures are straight lines with a few angles.

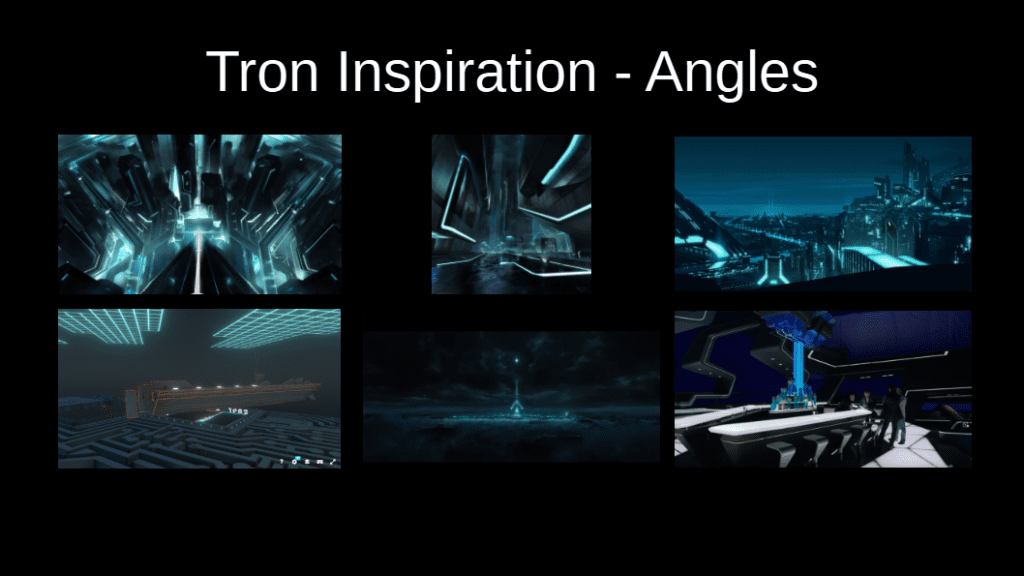
    In my “lit review” of Tron art, angles are a cool element. They are not quite 45 degrees, but they play near there.

    Collage of 6 images showing various angles in Tron fan art or movie captures.  Aesthetic is black with glowing blue grids.
    Inspiration images – note some of these are directly from the Tron movies/books but some are fan art.

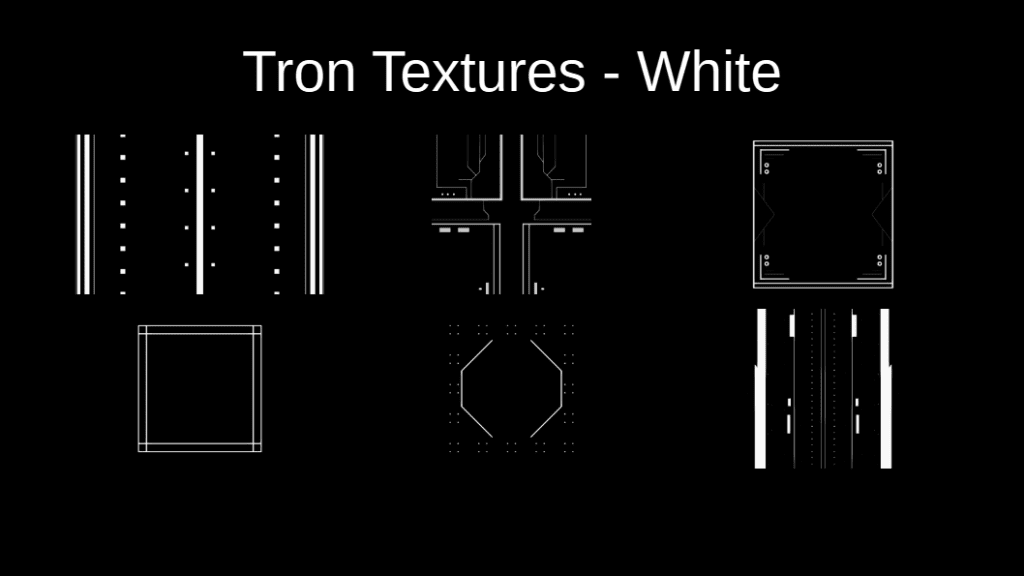
    So I had my first bunch of textures, these were all made in Blender.  Note that they are white on black.

    Collage of 5 textures using straight lines and dashes used to form the textures of a Tron City.
    None of these show up in the final build

    I got the rest of the buildings made (and conceived of my “Halloween twist”), put the textures on and ramped up the bloom.  The tutorial has you build a Color Ramp to turn the white to blue. In Blender, it looked fabulous!  Essentially, I’m done! No, I’m not. I make immersive art.

    I put the build up into Hubs to get inside it for the first time.  

    Nothing. Blackness.  But that’s because my build was unlit– as in completely unlit; no light source.  I had to play with some HDRIs to get the lighting I wanted.

    And, I had bloom off on my own browser. That’s the problem that you can partially see below. It’s not glowing.

    Work in progress. Note that the blue color is working but nothing is glowing.

    So starts the work of translating what is a great scene in Blender to work in the WebXR platform, Hubs. There are LOT more settings to be worked on. In total, lighting took me ~3 days, slowing tweaking each setting and using the Hubs Blender Add-On after every tweak to see if was working towards the effect I wanted.  Plus I had to turn bloom on.  

    Problem

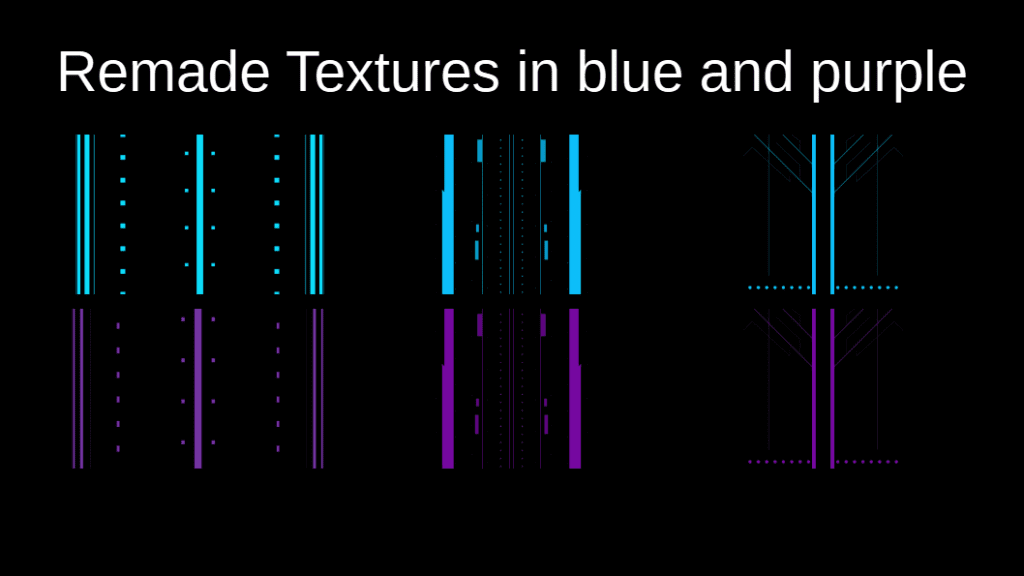
    But of course, Hubs cannot understand the color ramp taught in the tutorial. So now I had to rebuild my entire set of textures in blue on black. Plus by now I know I want a set of purple on black for Halloween. I didn’t quite keep a set of Blender files for each texture, so I had t remake most of them from scratch.  Bummer. That was another two days work.  Plus I had to check for just the right “blue” (HEX 0DC2FF) and “purple” (HEX 7809A4) inside of Hubs. I would reference those 2 HEX codes frequently. In hindsight, the blue worked great. But the purple– even though I tried 3 different purples (a dark, a mid, and a light) was still too dark; it didn’t glow much in general. I’d pick a lighter purple if I did this again.

    Notice how the purple just seems darker.

    At this point I have one of the textures in blue (the road) but I’m still tweaking the bloom. Notice the white in most of the textures. The street lights are glowing from a blue material with emission, not a texture.

    Capture of work in progress from Blender. A cityscape is visible but some elements are white on black while others are blue on black. The blue parts are glowing.
    Only the blue is emissive at this point. I haven’t replaced all of the textures yet.

    In addition to re-texturing, I was adding Flynn’s Hideout (aka apartment or safehouse) and heavily researching Tron lore to determine the purposes for things. I learned a LOT more about Tron that I ever wanted but it was cool to explore a world that was a computer simulation. 

    Collage of images from Tron, Flynn's Hideout. Elements of a glowing floor and ceiling, fireplace, meditation pool, some "bits" (rubic's cube like decorative elements) on the mantel.

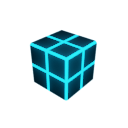
    For example, there is a fireplace with a mantel in the hideout. I had to ask “what is fire in the Tron world?” and found that it appears to be blue transparent cubes (Tron Wiki, Flynn’s Safehouse, Trivia). Blue transparent cubes coming up! First, actually made in 3D in Blender. Then I picked a camera viewpoint and rendered one in 2D to be used with Hubs spawner. The result? Close enough. I’m still hesitant with transparency in Blender and Gimp. If I were to make these again, I would not have as many lines.

    Image of a black cube with a glowing blue outline.
    My Tron fire cube

    Design Elements for Flynn’s Hideout

    • Should be spawn location
    • Can see Tron city (The Grid) from an outer deck
    • Includes water or meditation pool
    • Has angled black shiny walls (entire Tron world is black angled shiny rock)
    • There needs to be a book shelf in the back. Books appear to be significant in Tron lore. Books containing “text” might be the only part of the real world that computer programs can attempt to understand. The poorly done ‘do you know Jules Verne’ joke implies that programs struggle with fiction/nonfiction text.
    • No real food, but Flynn does eat. Note: humans are users. Users are self-powered in the Tron world. They are the only entity that is self-powered. That self-empowerment grants them somewhat of a god status in the Grid.  It also allows Flynn to live separate, off the Grid, and beyond the reach of Clu.
    • There should be a bedroom to the side. 
    • The fireplace has objects that seem to bemuse and simultaneously confuse Clu.  I recreated this scene in my video. #CluDoesNotGetTchotchkes
    Image from Tron: Legacy and my video, showing the moment Clu reaches out to the objects on the mantel.
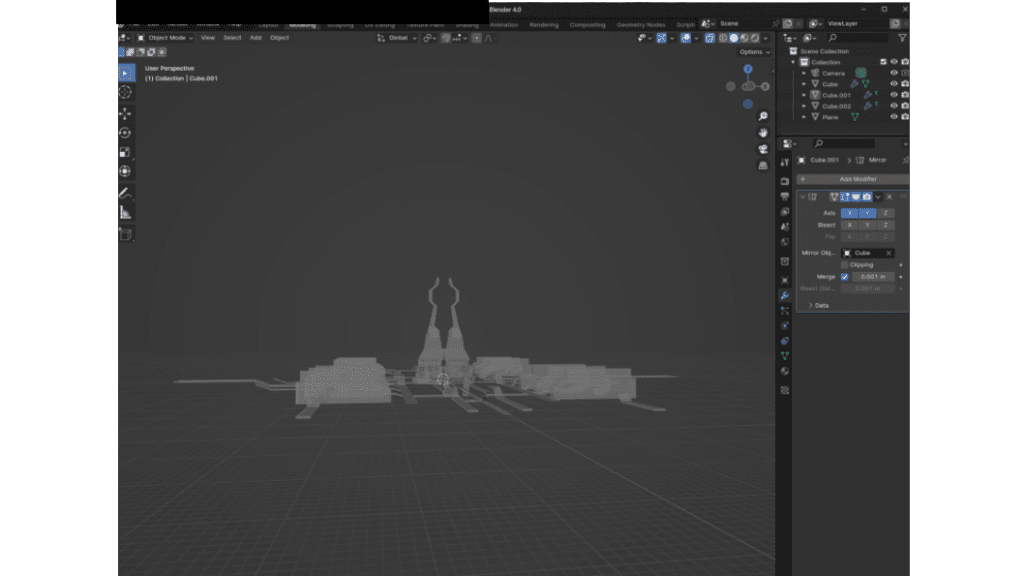
    Capture of Blender 4.0 showing only 3 cube shapes made an entire city.
    Work in progress: Blender screen showing that the basic city is only 3 cubes

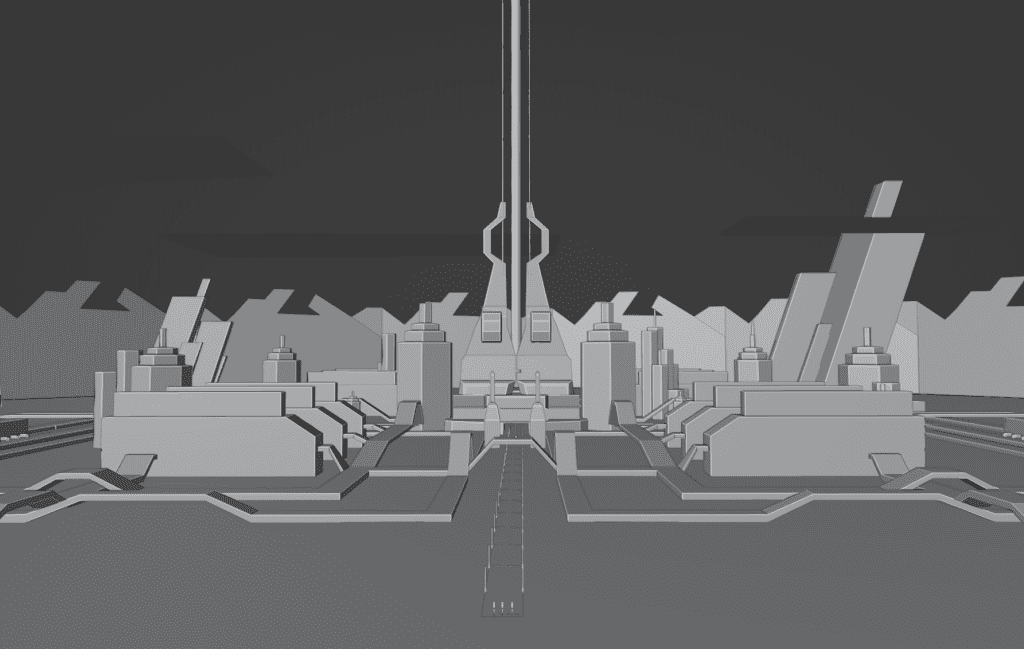
    Capture from Blender of the basic shapes of Tron City.

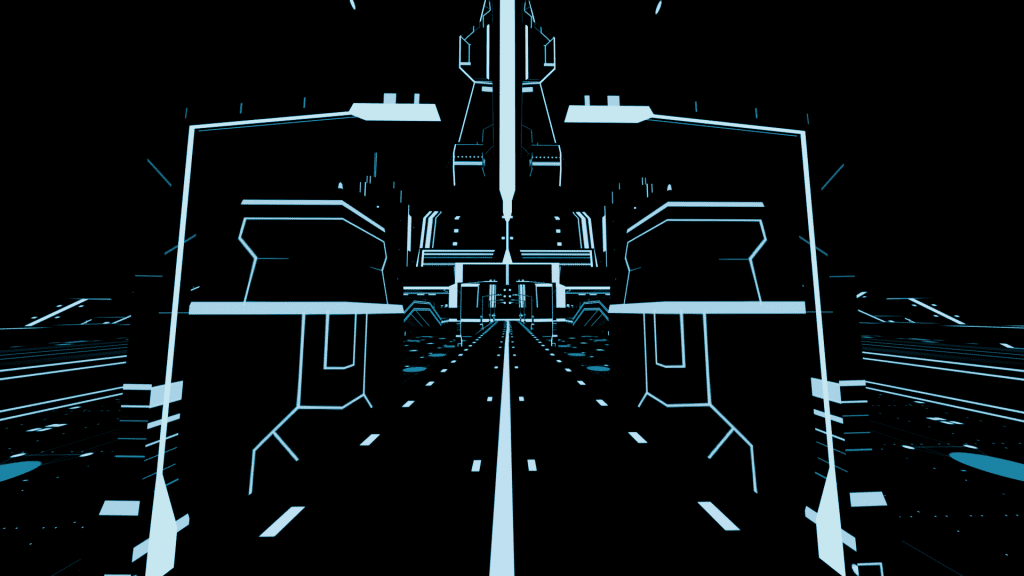
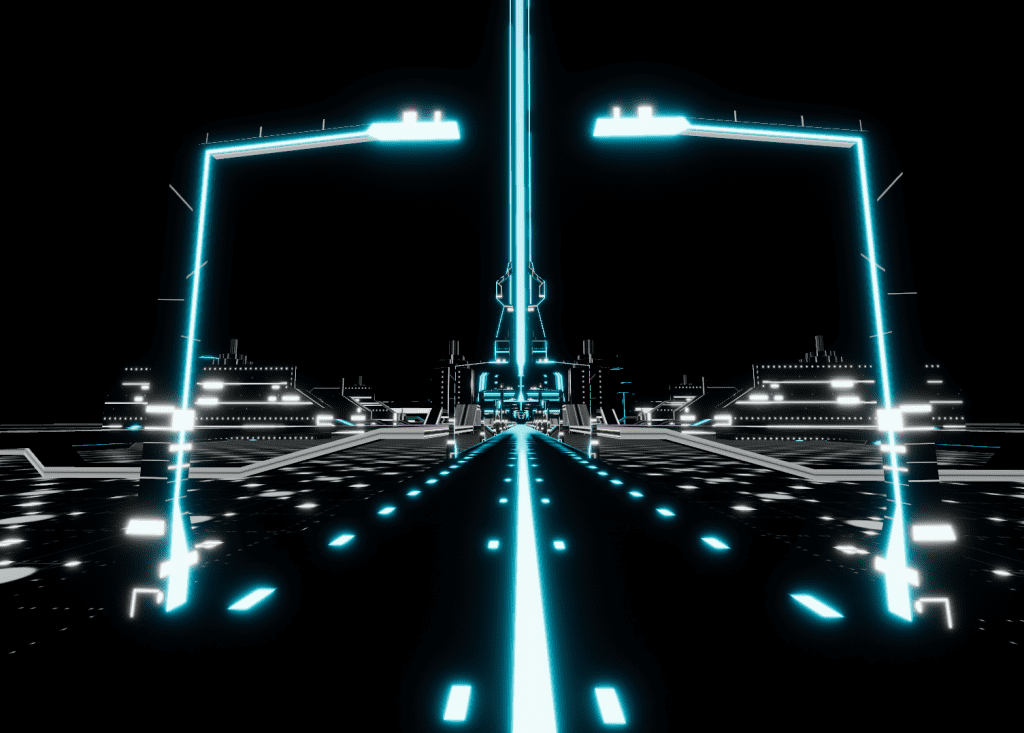
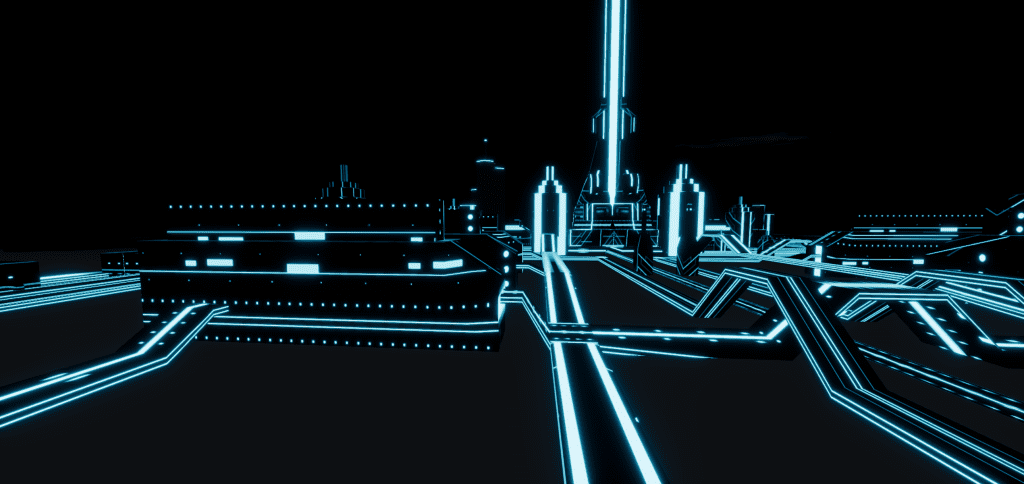
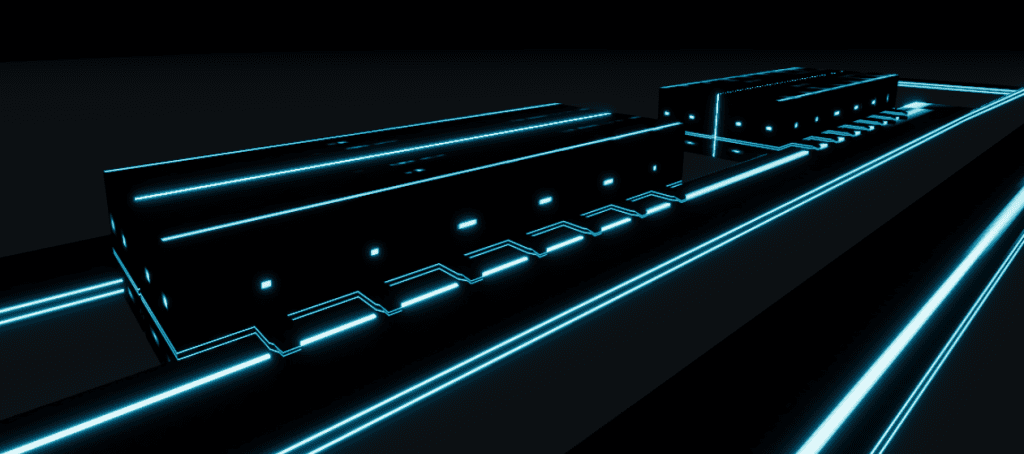
    This series of images shows what I mean by “the textures carry the weight” and the use of negative space is compelling. The textures add what could be windows, doors, or programming through the scene. On the “roads” the textures give a sense of movement. It’s wild that all that busy city is from a few cubes, with the Mirror Modifier and some linear textures.

    Tron City Elements

    • Apparently, it’s always dark and stormy in the Grid. Technically, it can rain and the Grid is rather proud that it can simulate rain. I did not make rain. I added some blue-tinted clouds that float across the scene via my animation. The black rock everywhere is shiny.  Perhaps it is a break in the rain.
    Capture of Tron City in Hubs. A blue tinted cloud floats above roads with glowing lines.
    It’s always stormy in the Grid
    • I became much more comfortable with the Mirror Modifier in Blender in this build because the tutorial has you create the city with one mirror (i.e. X axis) but I simply added the other horizontal mirror (i.e. Y axis) for things like the roads and you quickly get a much larger symmetrical city!
    • The city is NOT fully symmetrical. I created some extra buildings that I manually placed into the scene. 
    “Ram” buildings- like the computer part.

    The Socket Set


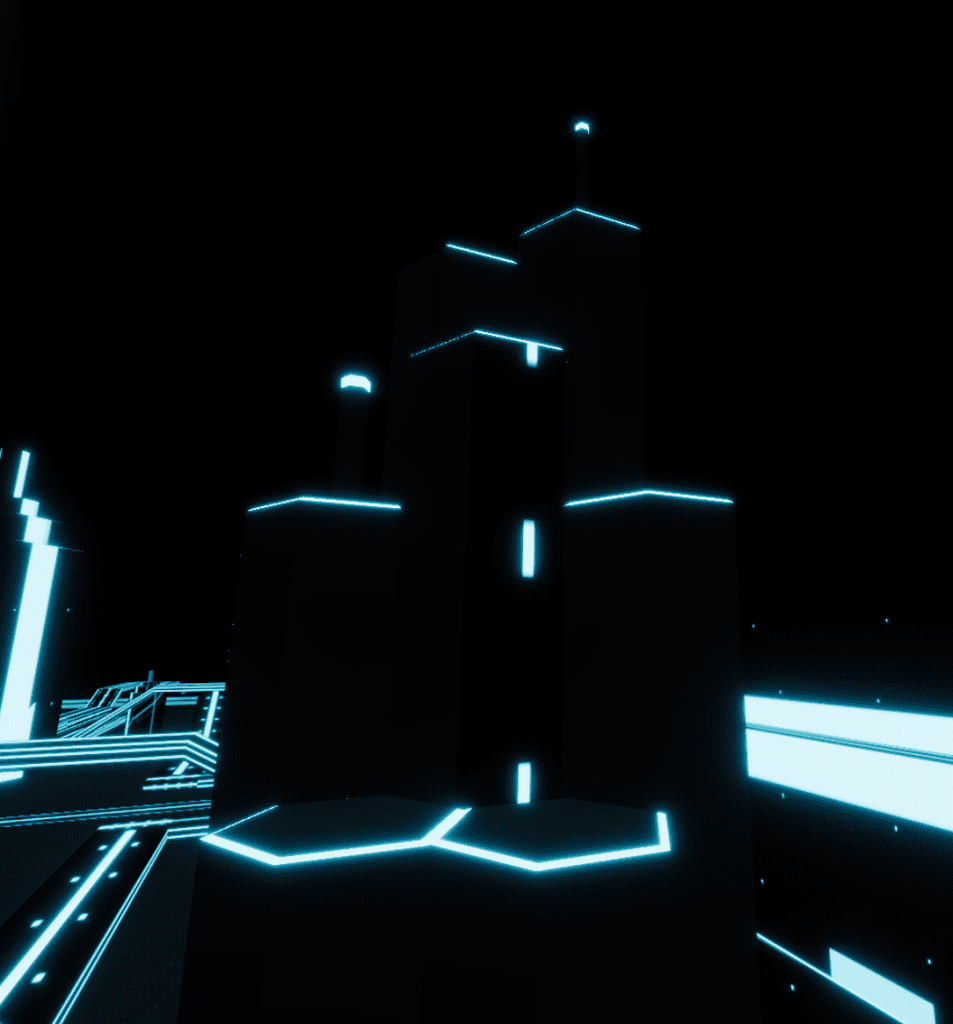
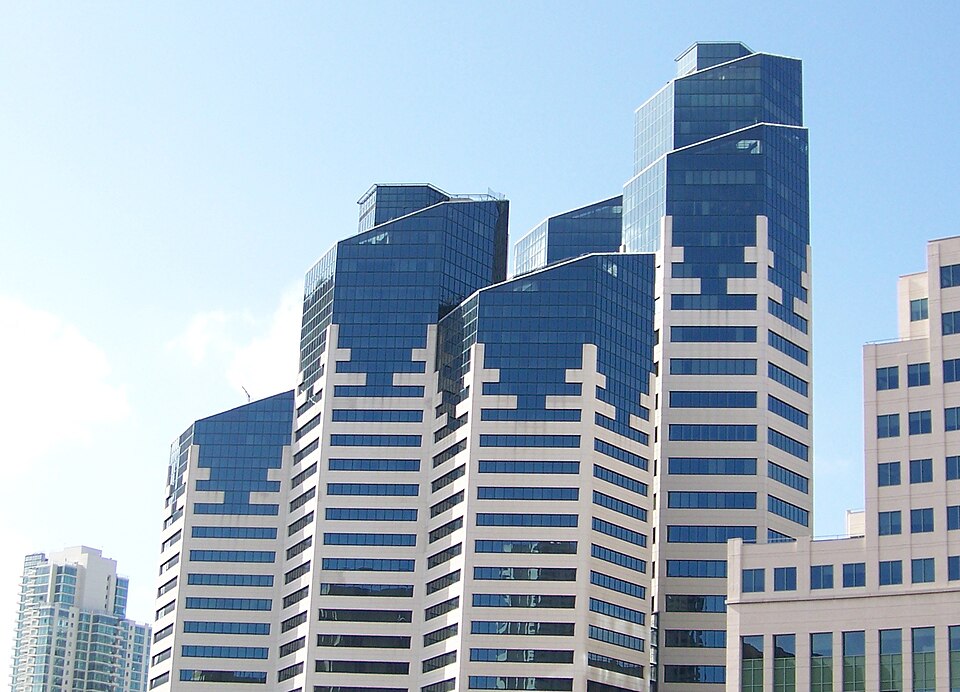
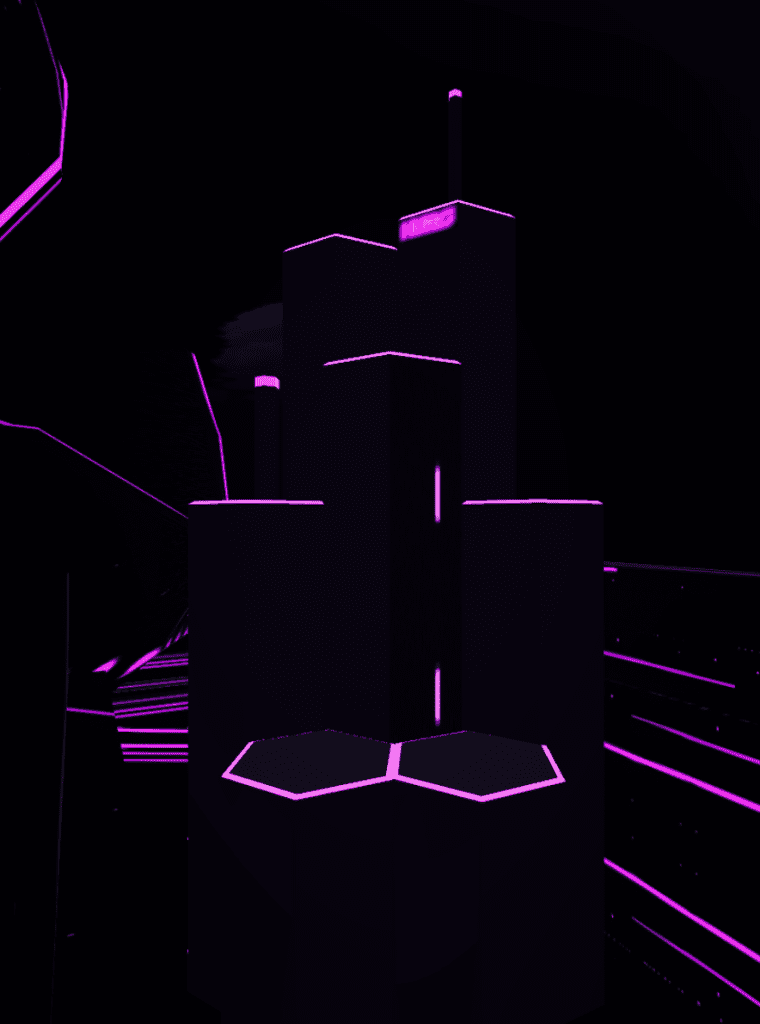
    I created some fun “socket set” Emerald Plaza buildings, like in San Deigo. 


    • I chose not to make the Games stadium.  It’s already a big build and I didn’t need another building complex for my story line. 
    • I thought about having the Solar Sailer arrive at some sort of tethered location at an antennae. I built the building for it to arrive at (per the Tron plot). But I decided that I liked the look of it just sailing through and past better. 

    About that center power beam

    The tutorial doesn’t care how high the beam goes up as you just get it going up out of the animation render camera shot. But since my city is immersive, I had to think about how high of a beam I wanted. The beam IS part of Tron lore and it represents communicating back with reality so I thought it should go up forever! I really thought I had a perfect application for Fading Assets Gracefully with Vertex Alpha. But with Blender 4.0 (or some version near there), alpha has changed and changed how it is done. Thus, I’m lost and could NOT get it to work. I’m sure the problem is with me and I just need to adjust to the new system, but still I’m floundering.

    Still, a mantra that I keep repeating did work: There is more than one way to do things in Blender.

    So I tried Hubs black fog instead. Plus, since I already knew by that time that that beam was about 500m from the spawn point, if I set the fog to 500m it should just about perfectly hide the beam until a visitor goes out to the cliff edge.
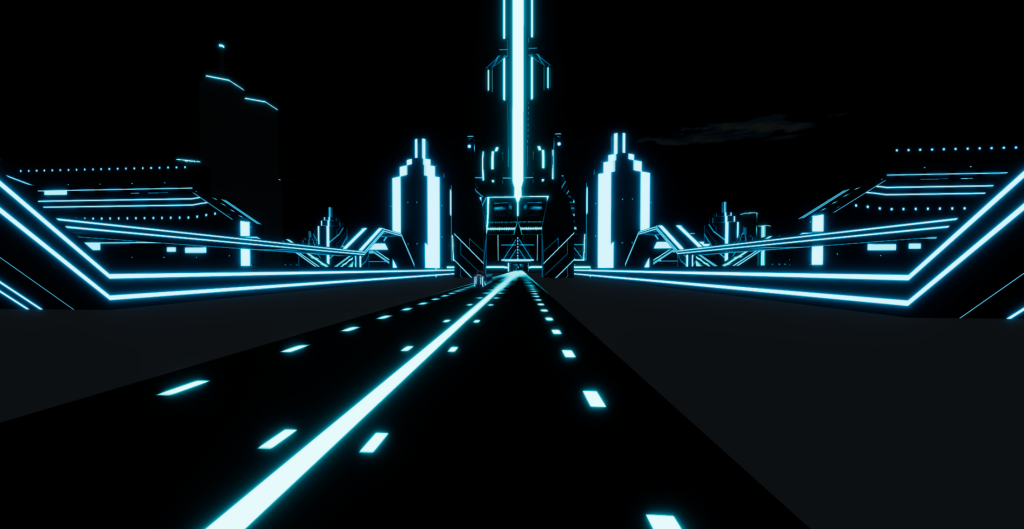
    View of Tron city after just stepping outside of the Hideout
    Capture of a blue glowing city that is closer now, with a center power peam just coming into view.
    View of Tron City further out on the cliff edge
    WIP image: Note the elements: the cushion, the water pool, the bedroom, and the far off city.

    By The Numbers


    The final build of Tron City with Flynn’s Hideout: ~18MB. I’m very sure most of that were my textures. But all things considered, that’s a tiny number for a build 1 kilometer in size.
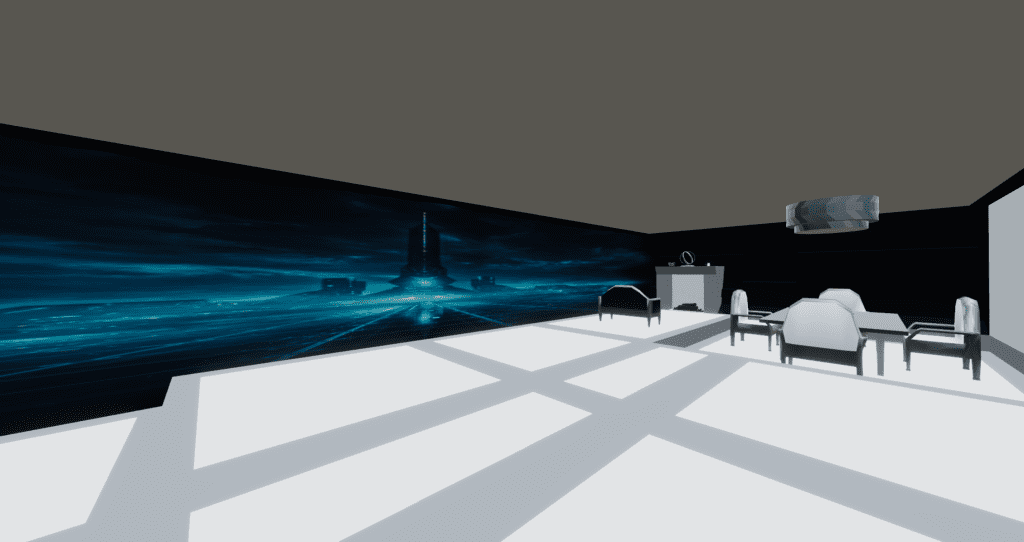
    40,000 triangles

    Environment Map: Quarry Cloudy HDRI from Poly Haven, 1k

    Seeing cloud reflections indoors? VR fail, but I’m sure that will get fixed someday.
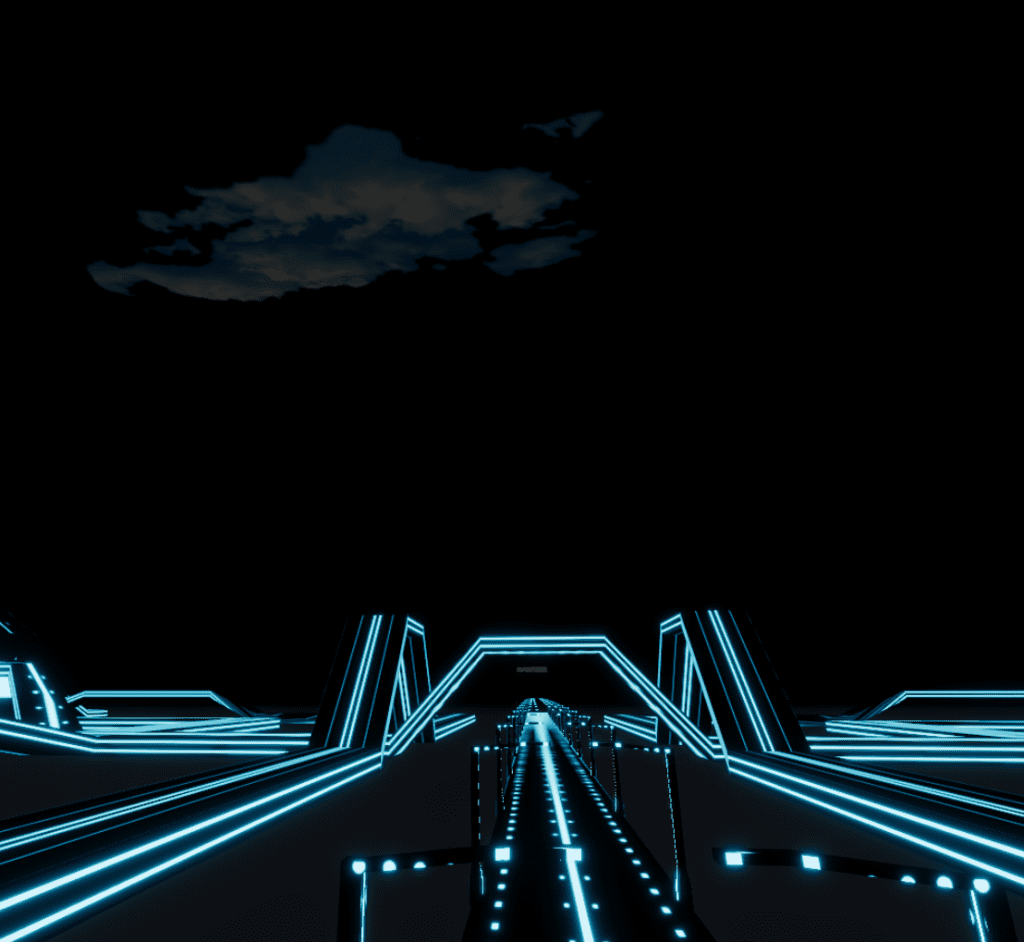
    World Surface Rogland Clear Night HDRI from Poly Have, 1K 

    Tone Mapping: Blender Filmic

    • Exposure 1.0
    • Bloom on
    • Threshold 1.0
    • Intensity 0.30
    • Radius 0.50
    • Smoothing 0.03

    Hubs Fog

    • Linear
    • Black
    • Near 100
    • Far 500 

    In Part 2 I’ll show my Tron Light Cycle, the Solar Sailer, and Tron Avatar.

    In Part 3, I’ll describe the Live Event.

  • Where have I been?

    Where have I been?


    Meme from Princess Bride with text Let me explain. No, there is too much. Let me sum up.

    You know that feeling when you want to break into conversation, but there is just no way without it being awkward?  Yep, I’m there. And this isn’t the first time.

    But I really felt that I have GOT to get back onto this blogging horse, for many reasons.

    I will briefly (ha!) explain where I’ve been since ~March 2025 and my intention going forward.

    You see in March, I started a huge privacy kick. I wanted to move my blog away from a Google-based platform. I tried 2 different free platforms, Git Pages at GitHub and write.as.  Both experiences were lacking. Git Pages seems to have a governor that makes any site more than 12 pages unstable (I have ~150 blog posts that might stick around).  Write.as banned me on Day 2.  They interpreted my use of references as violating their ethic of “don’t link to others, just write”.  I investigated paid options but really could not square myself to even $5/month for a blog, for now.

    I’m also noticing a trend that I admire: pulling back from sharing on social media and just making information only available as “pull technology” (a 90s term that I do like, it is opposed to “push technology”, RSS feeds are pull technology). It means that if you want to read about whatever, you go search it out and read it. You don’t sit back and let some algorithm feed it (or not!) to you.  I trust that if you want to read and keep reading, you’ll look in whenever it suits you.

    Another item that took a long time was I working on a large volunteer writing project that took a lot of energy over the summer.

    And finally (ending on an up note), I kept up my Blender learning and building skills.  What’s cool about that is that I realized that I need to start solving a problem I’ve detected out there—there are not enough “how to” sources for the Hubs/Blender combo. So when there is a gap and you are hacking your way through the forest anyway, I might as well document my decisions and results here for whatever future reason. If they become pre-instructions for someone else, perfect. The upside is that you, dear reader, will be able to see a LOT more of my activity here because I’m pulling back from social media.

    So, there.

    I see I have 35 reads on my Buh Bye Instagram post— that’s weird. I can only think of one or two creeps that would still be reading my blog. 😈Who the other 33 of you are, I don’t know.

    Nonetheless all the same (a favorite phrase of mine), here we go!  First up is to move one post already written from drafts into published.  I’m picking up at Part 7 of my latest series which I can’t even remember the name of…

    Oh well.  Bear with me.

    Meme with text: I love the phrase Bear With Me  because it could either mean "Please be paitent" or "The heist at the zoo was a success".